01C · Style expansion
A LoRA as a Style Dial
A LoRA is a small file of learned adjustments that is added to an image model to shift it towards a style or subject. This workflow applies an existing LoRA at several strengths in one run, so you can see how much of the style helps the garment and where it starts to replace the design.
The workflow applies a LoRA that someone else has trained. It does not train one. It needs one extra file, listed in Getting Started.
- You’ll learn
- How a LoRA is loaded, what its trigger word and strength do, and how to run a controlled comparison across a list of strengths.
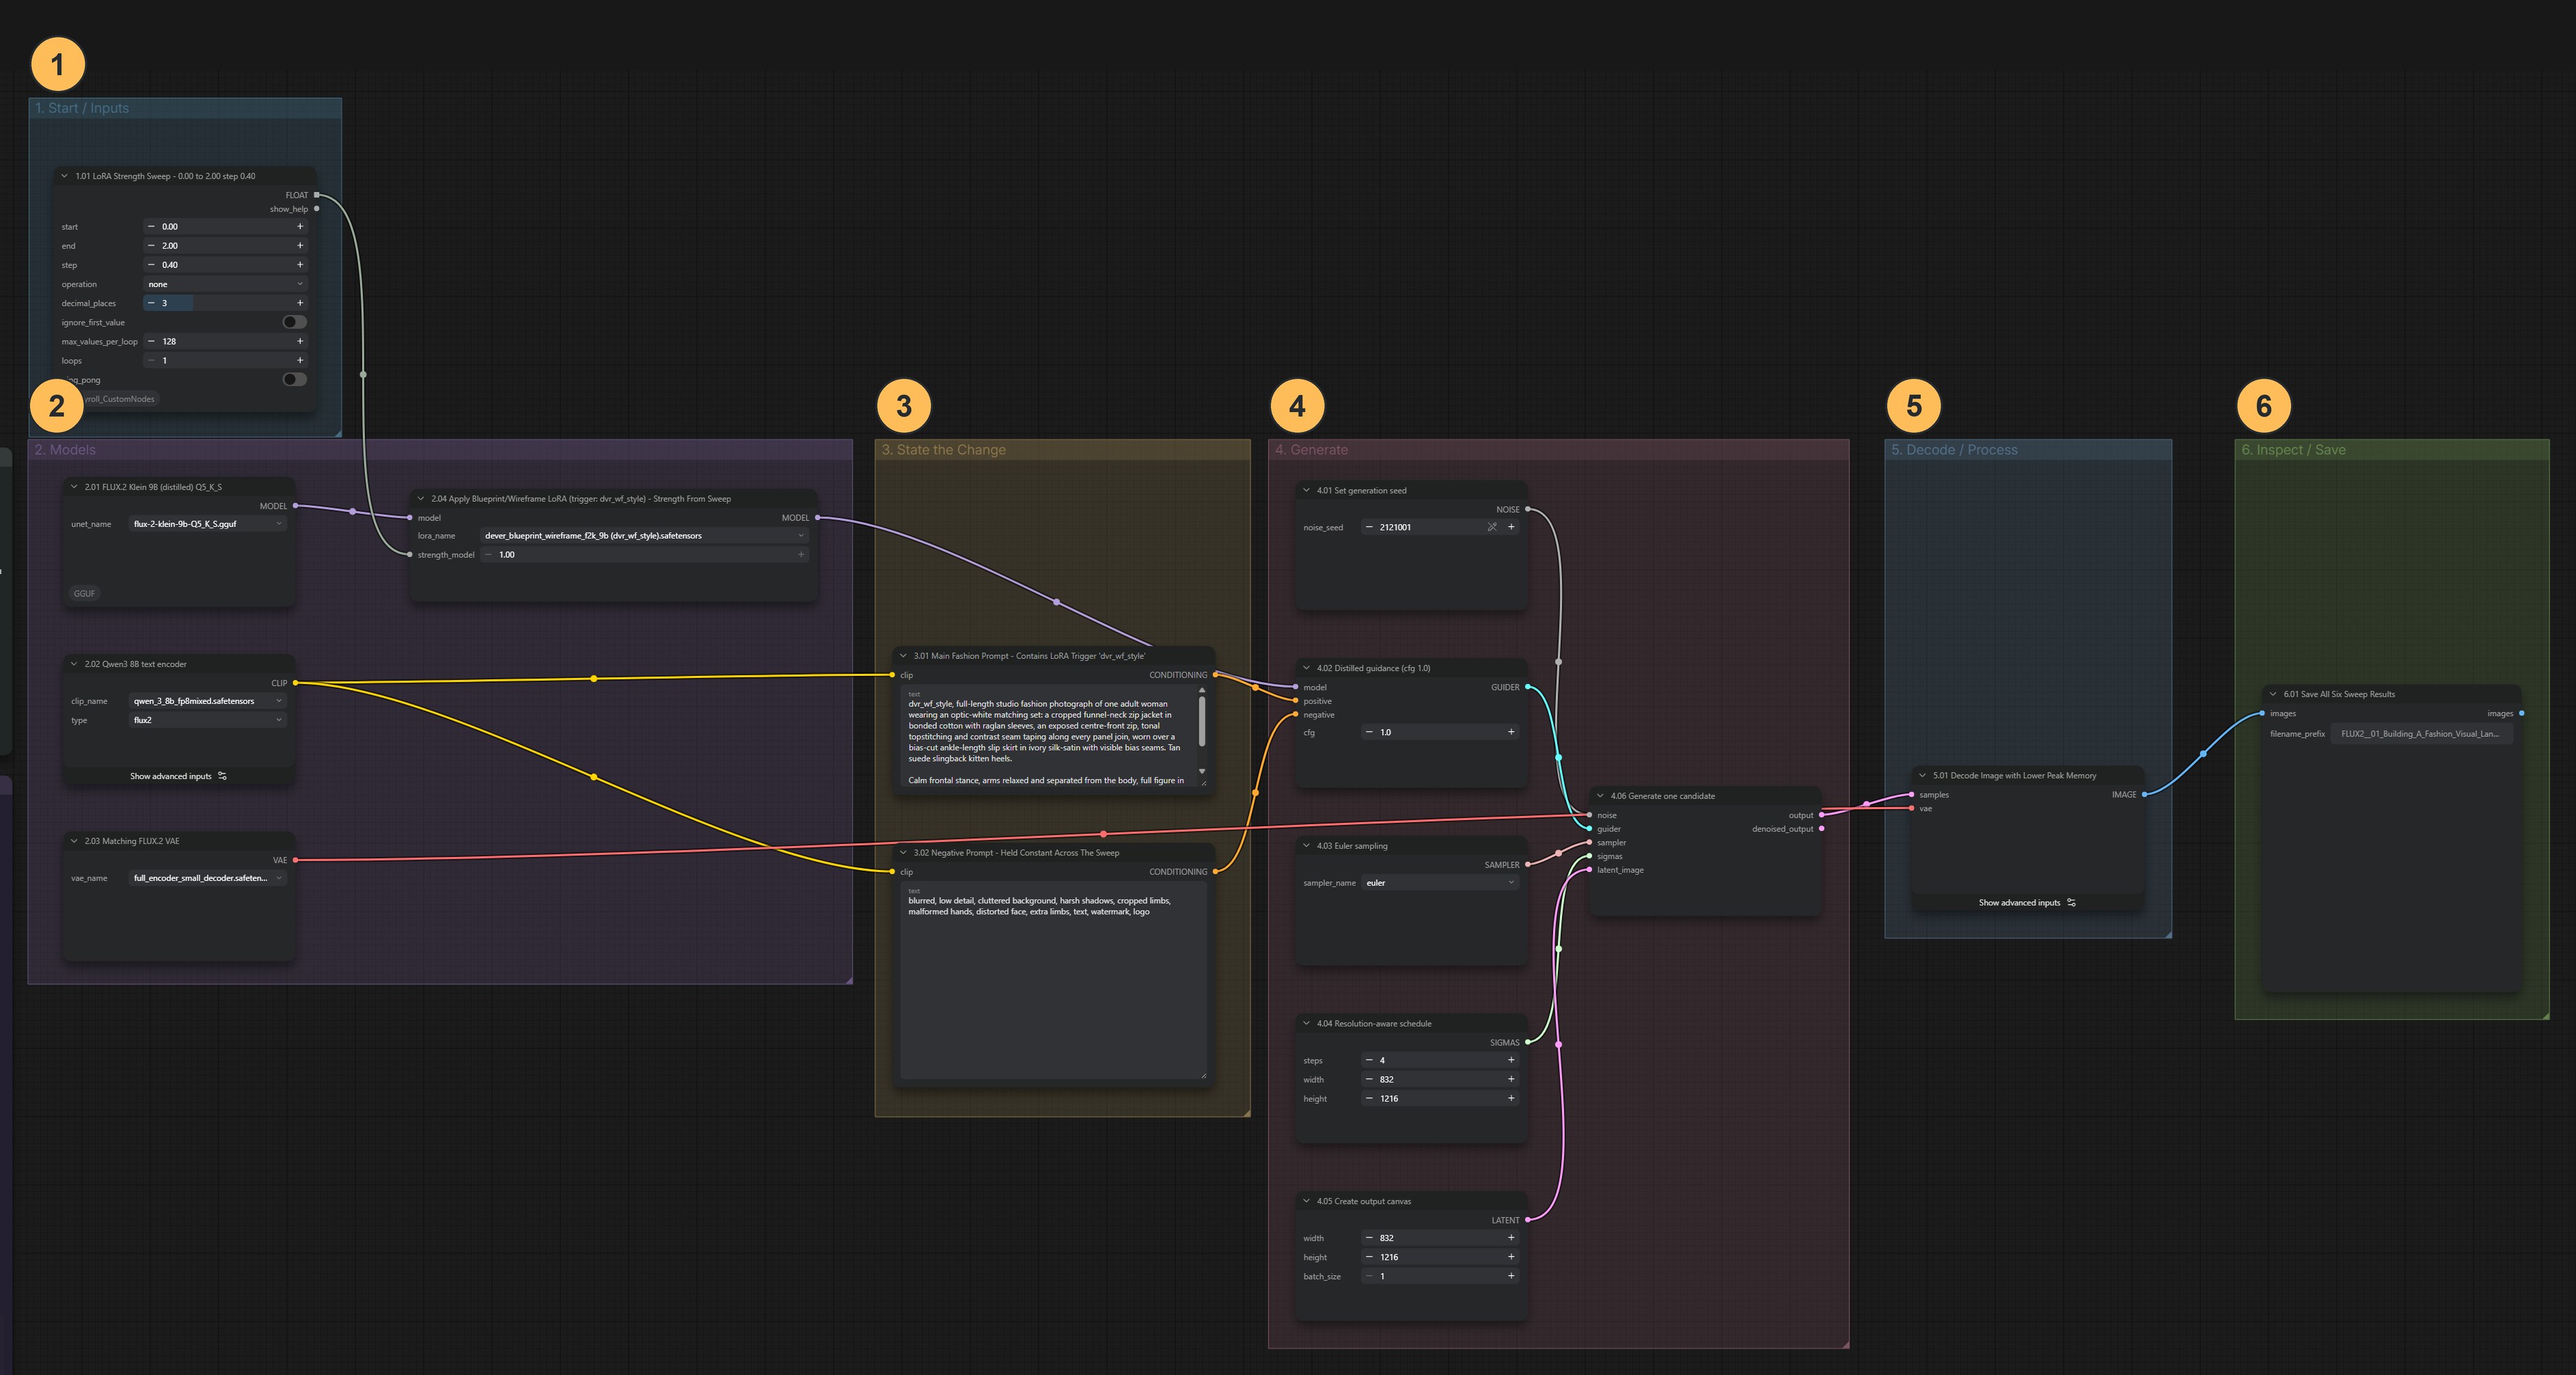
What goes in, what comes out
A written brief, one LoRA file and a list of strength values go in. One image per strength value comes out. They all use the same seed, the number that fixes the starting point, so the strength is the only thing that changes.
How the workflow works
Explained earlier:the three models · seed, guidance and steps · decode and save
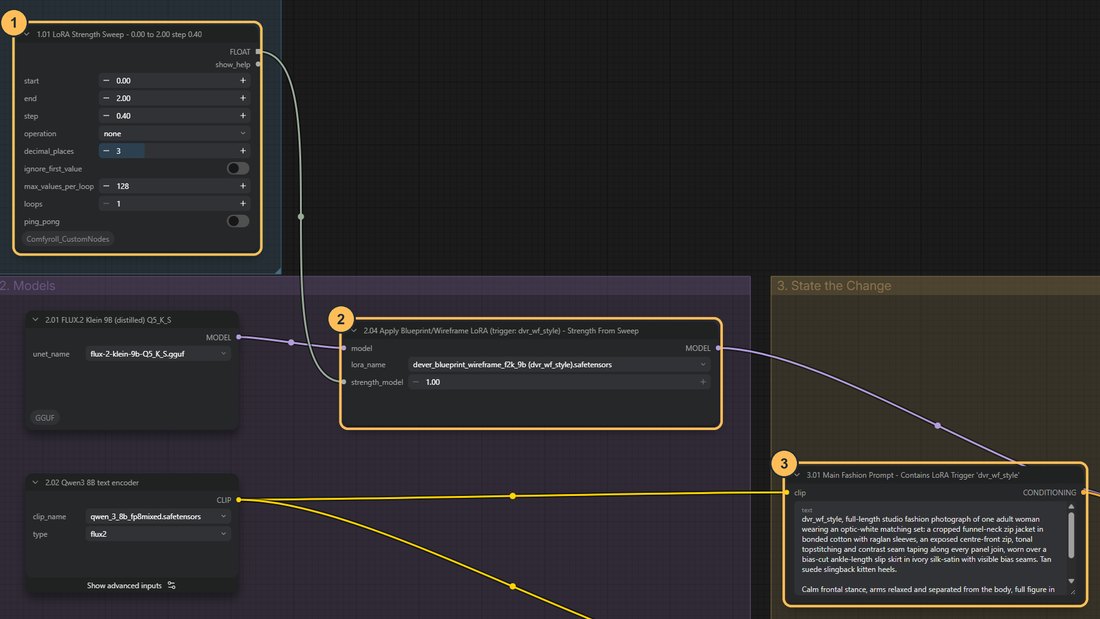
Load the LoRA
The node LoraLoaderModelOnly sits between the image model and the sampler. It has two controls:
- Filename:
dever_blueprint_wireframe_f2k_9b (dvr_wf_style).safetensors, a LoRA that adds a blueprint and wireframe drawing style. It must be inmodels/loras/ - Strength: how strongly the LoRA’s adjustments are applied. 0 means no effect. 1 is the full trained effect. Values above 1 exaggerate it
The prompt also starts with the LoRA’s trigger word,
dvr_wf_style. A trigger word is a term the LoRA was trained with, and including it helps the style appear. Typing the trigger word without the loader connected does nothing, because the LoRA is not loaded.- Filename:
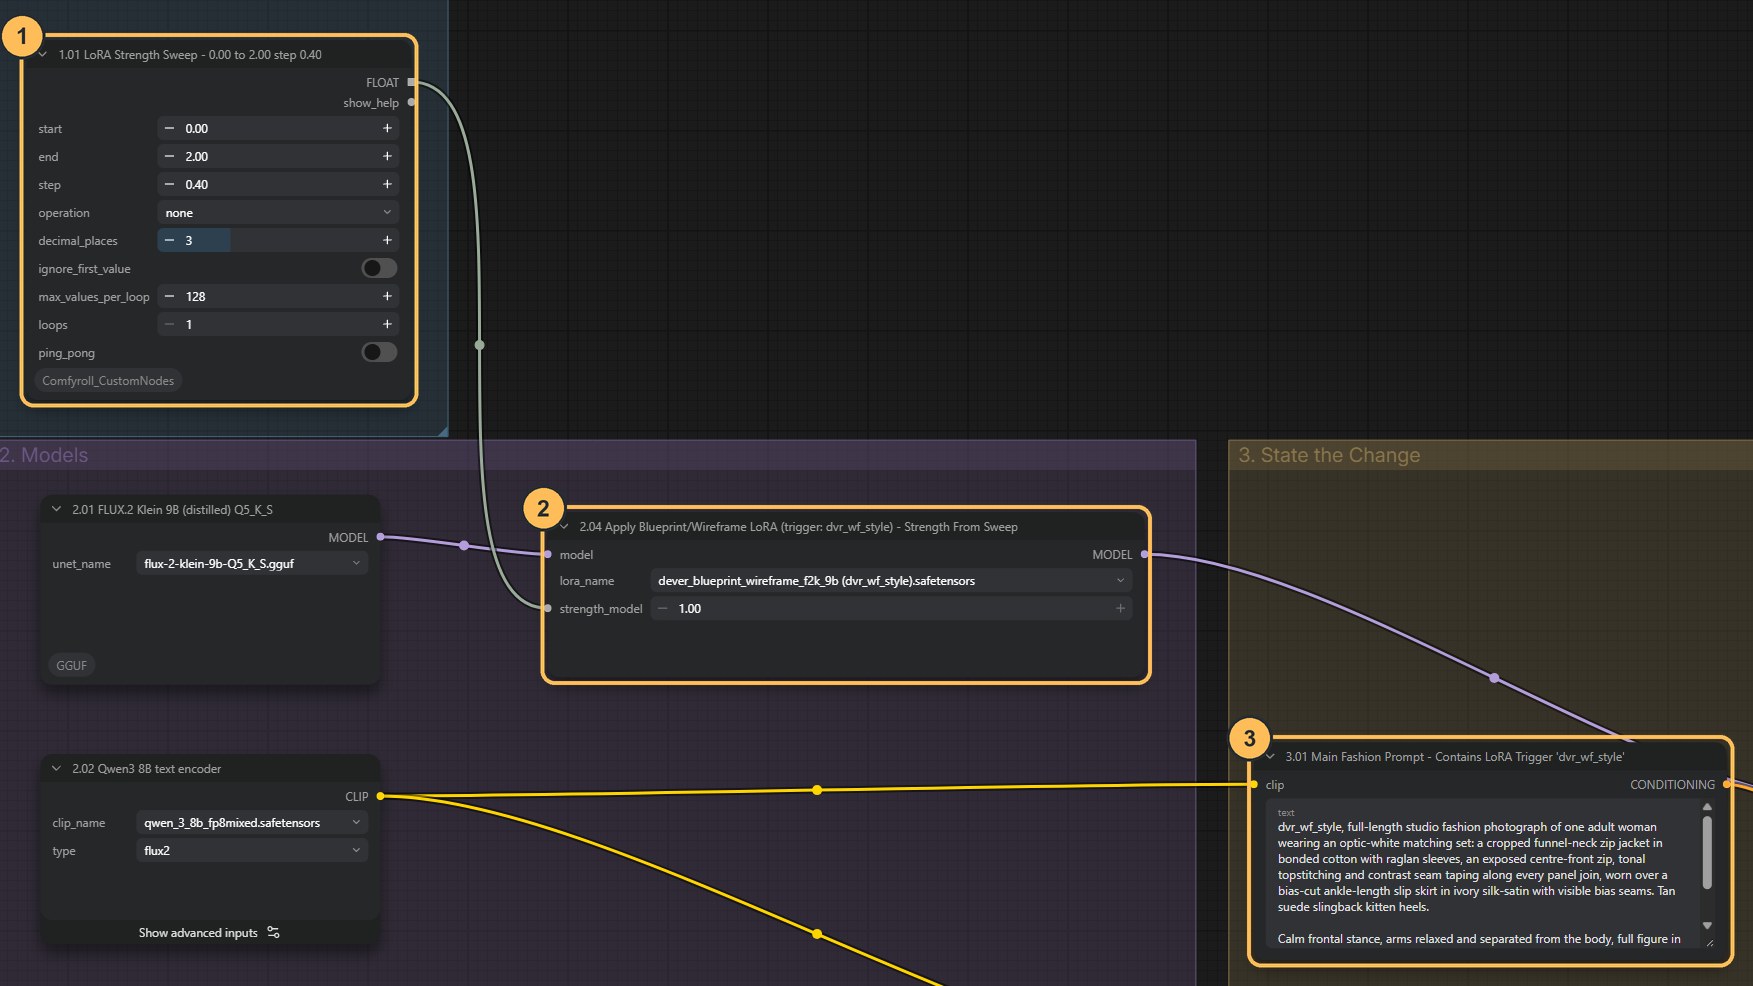
Give it a list of strengths
The strength list, the LoRA loader and the prompt. - Strength listA node that produces a series of numbers from a start value, an end value and an increment. The workflow is saved with start 0.00, end 2.00 and increment 0.40. That gives six images, from no effect at all to a strongly exaggerated one.
- LoRA loaderReceives each strength in turn. One press of Run generates one image per value.
- PromptStarts with the trigger word
dvr_wf_style.
Increment is not steps. The increment is the gap between two strength values in the list. Sampling steps are the refinement passes inside each image, set in the scheduler as in 01A. Changing one does not change the other.
Set up a controlled comparison
The saved list starts at 0, so the first image shows the design with no LoRA, and each later image adds more style.
Change: only the strength list. Keep fixed: the seed, the brief, the negative prompt, guidance, steps and size. Inspect: the point where the garment’s silhouette and seams stop being readable.
Once you find the useful range, narrow the list around it, then change the seed at your chosen value to check that it holds.
How does LoRA strength change the garment?
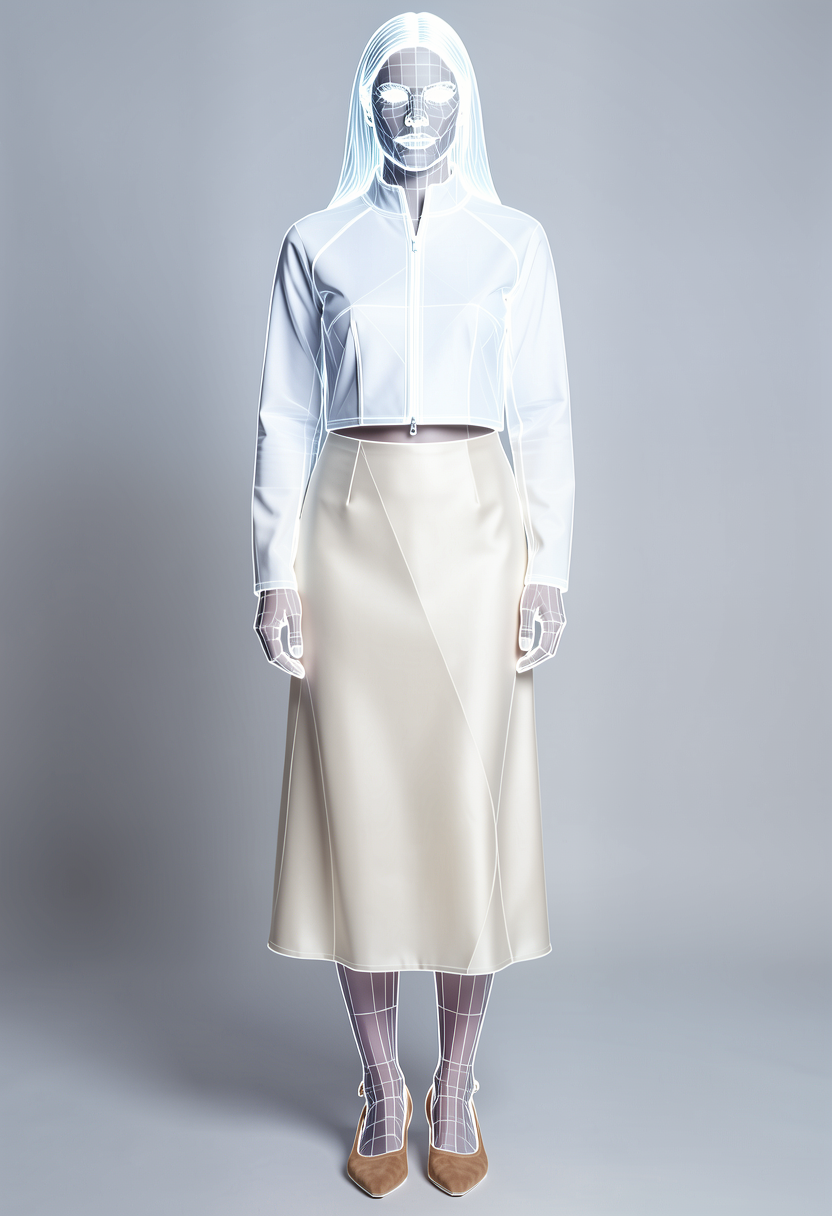
The six images from one run of the workflow as saved. Same brief and same seed. Only the strength changes.
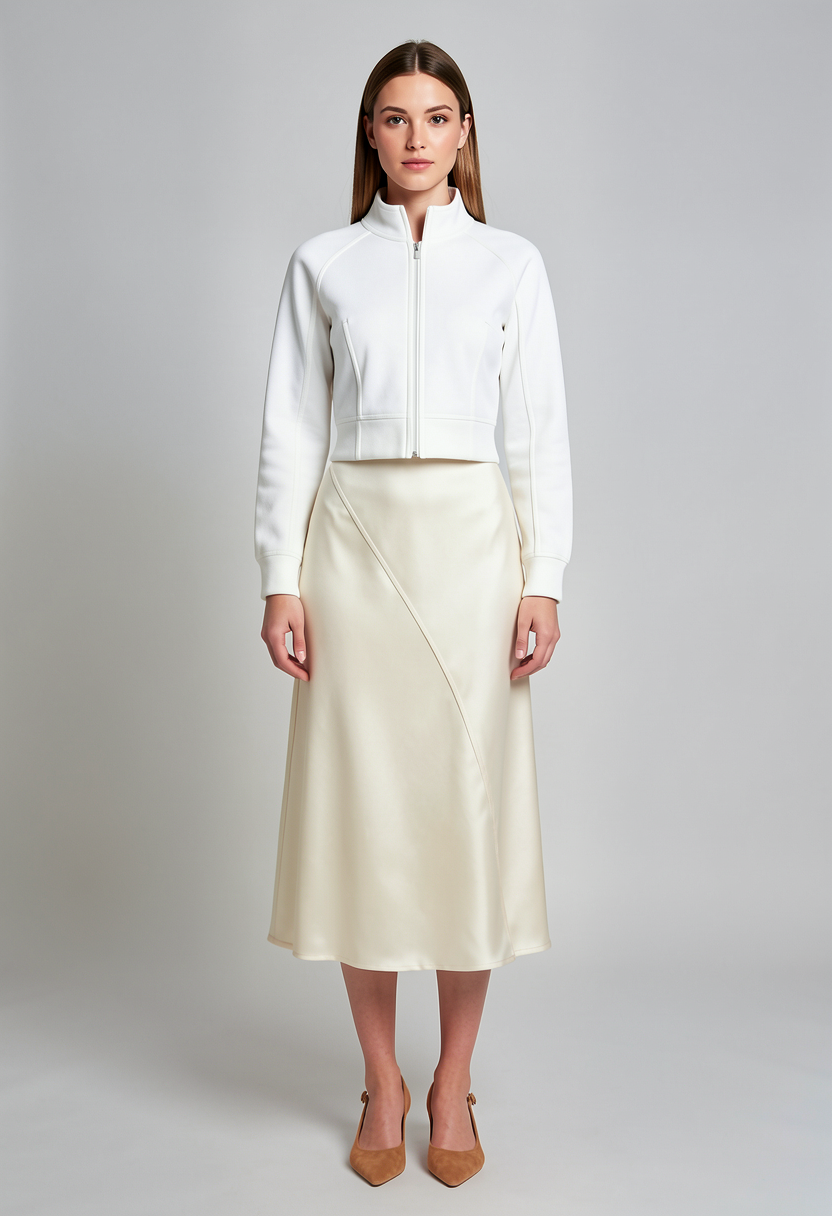
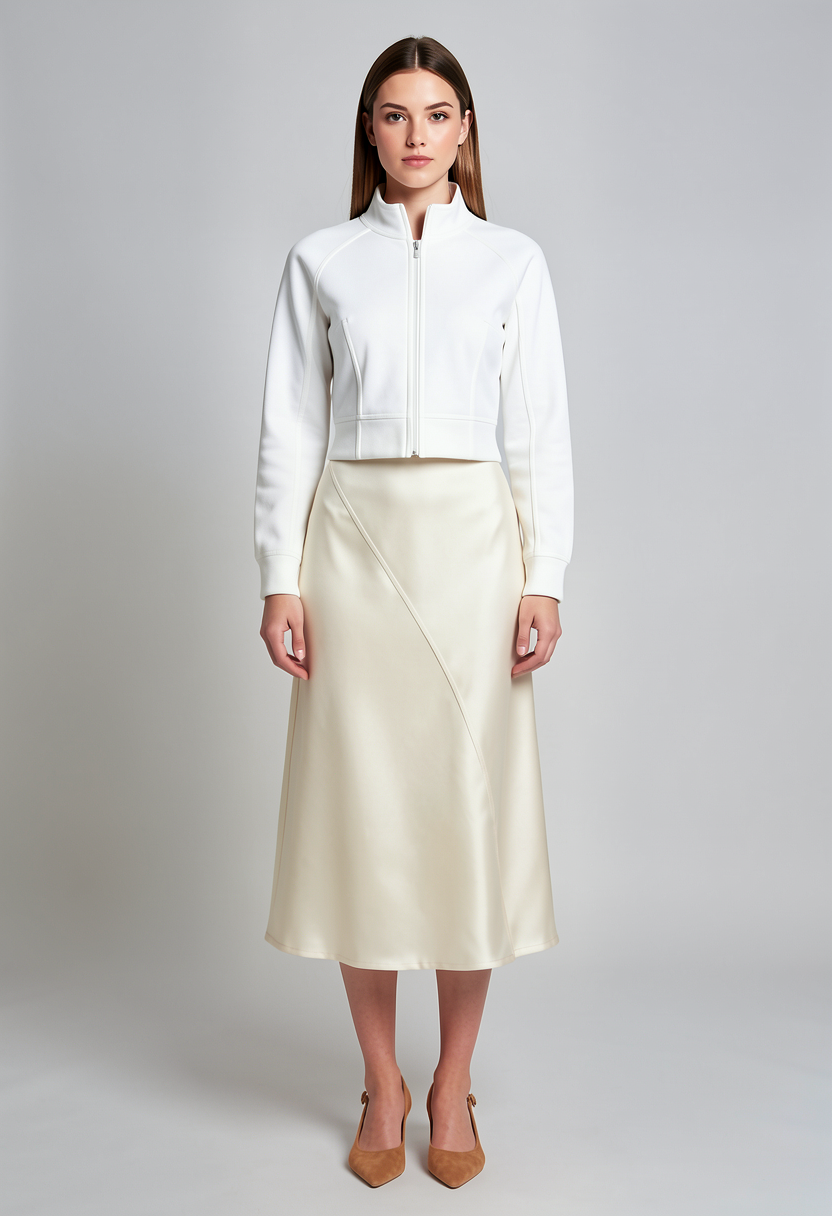
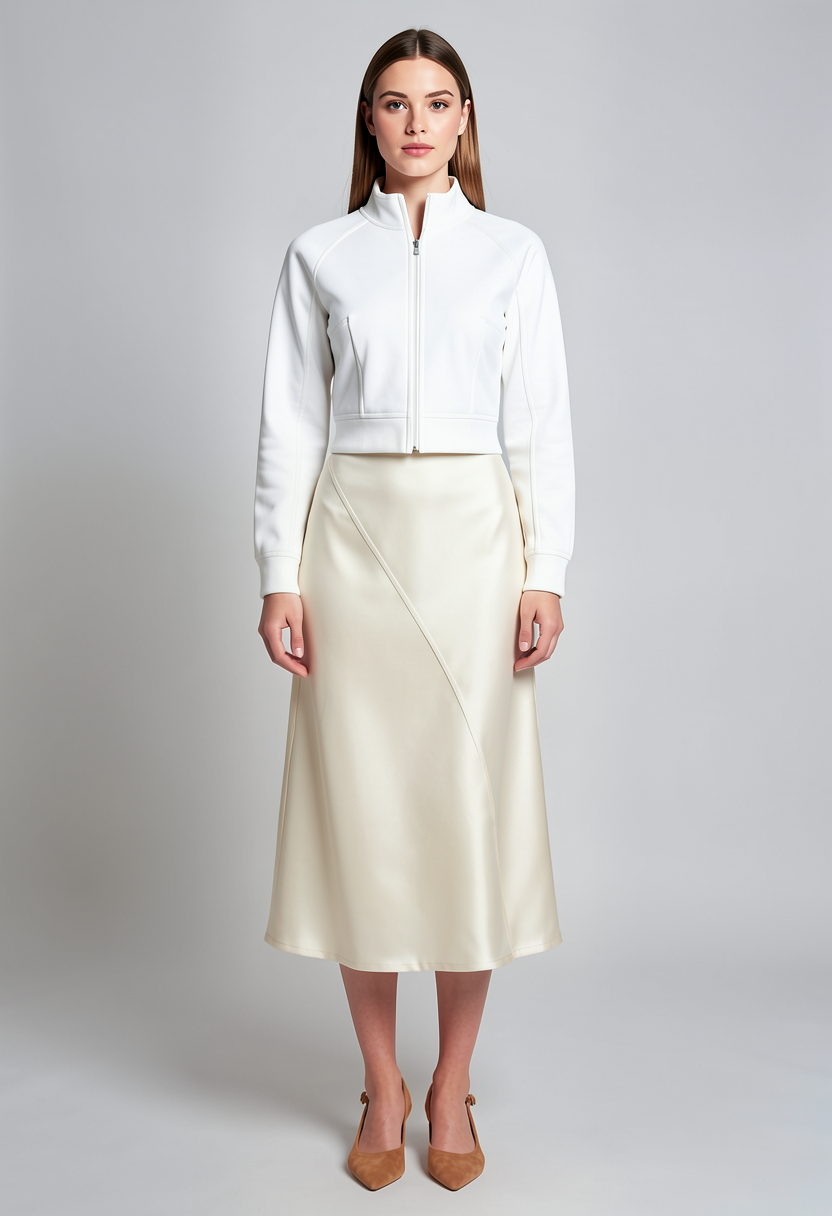
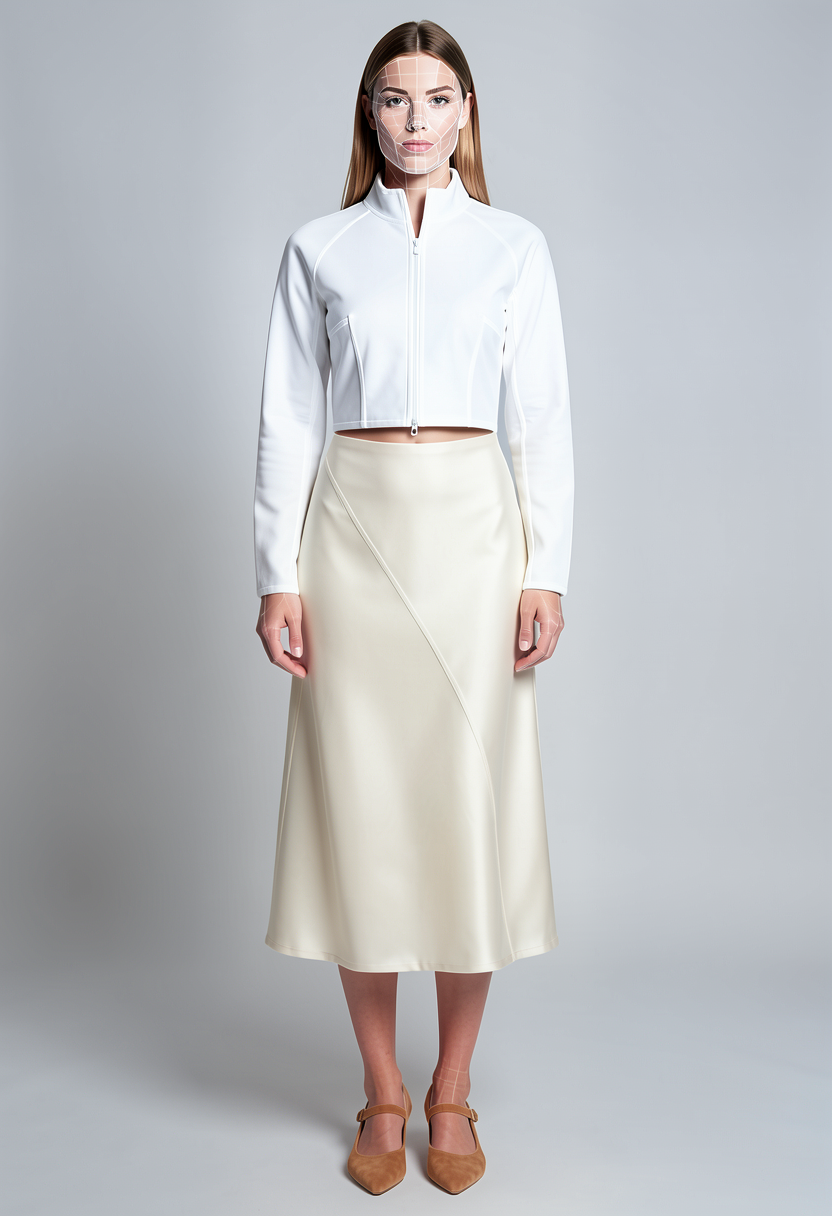
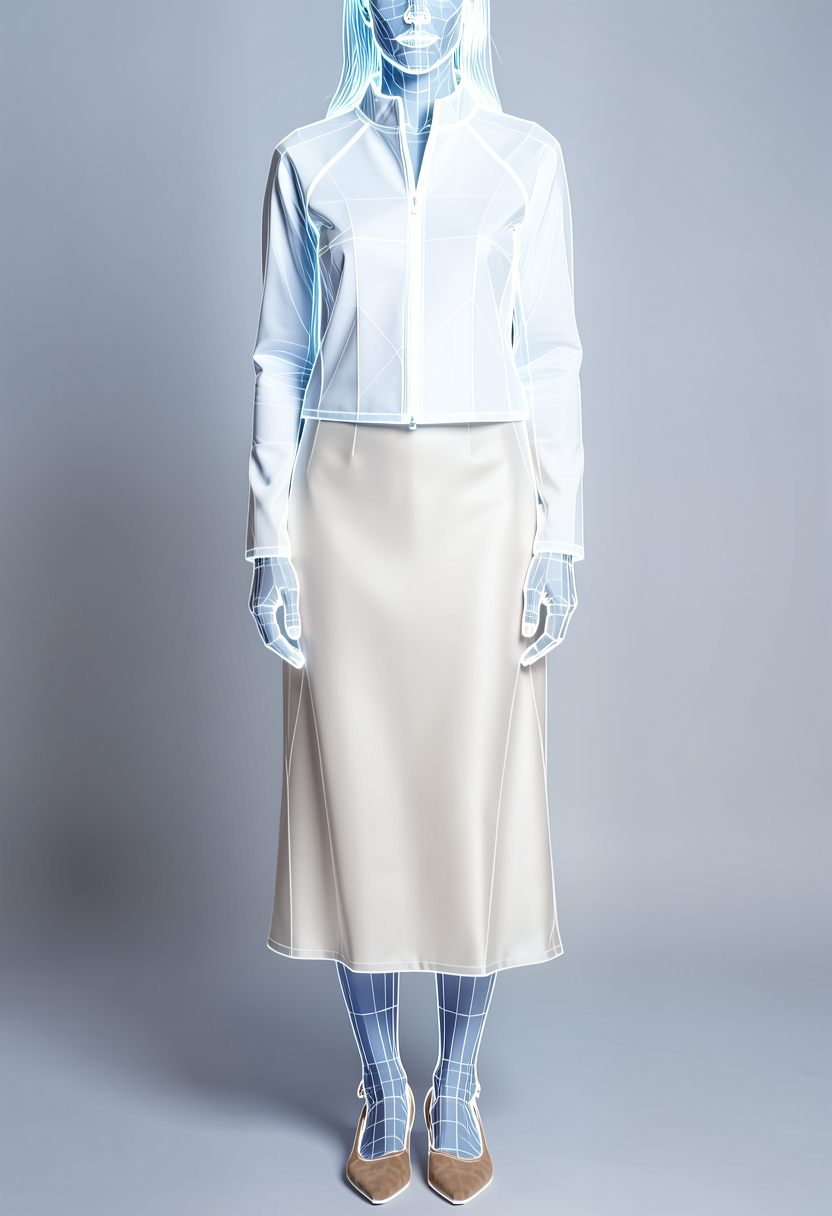
With this LoRA, nothing visible happens up to about 0.8. Around 1.2 the drawing style starts to appear on the face and edges. By 1.6 and 2.0 it has taken over the person, while the garment is still readable. The useful range for this LoRA is therefore narrow, between about 1.2 and 1.6. Other LoRAs respond at different values, which is why a sweep is worth running.
Check the result
- The silhouette survives the style
- Seams and materials are still readable
- You can say where the style helps, and where it takes over
With too little strength the style is not visible. With too much, the garment flattens into a graphic effect.
Download the workflow
- C_LoRA_Strength_Sweep.jsonNeeds the LoRA file in models/loras and the Comfyroll custom nodes
Click a filename to download it, or right-click it and choose Save link as. Keep the .json ending. Then drag the file onto the ComfyUI canvas, or use Workflow → Open.
Every LoRA has its own licence, and a LoRA’s permissions do not override the non-commercial FLUX.2 Klein licence.