02B · From image to object
Lace Silhouette for Fabrication
Generate a black-and-white openwork pattern, trace it into vector paths, and prepare it for 3D printing. A vector path is an outline made of lines and curves, not pixels, so a machine can follow it. The work happens in three programs: ComfyUI for the design, Inkscape for the vector tracing, and a slicer for fabrication. A slicer is the program that turns a shape into instructions for a 3D printer.
The ComfyUI part uses the same RealVisXL checkpoint and seamless tiling as 02. Inkscape and PrusaSlicer are free programs that you install separately.
- You’ll learn
- How to generate a connected, high-contrast lace pattern, turn the image into a vector outline, and set up a slicer so the openings stay open.
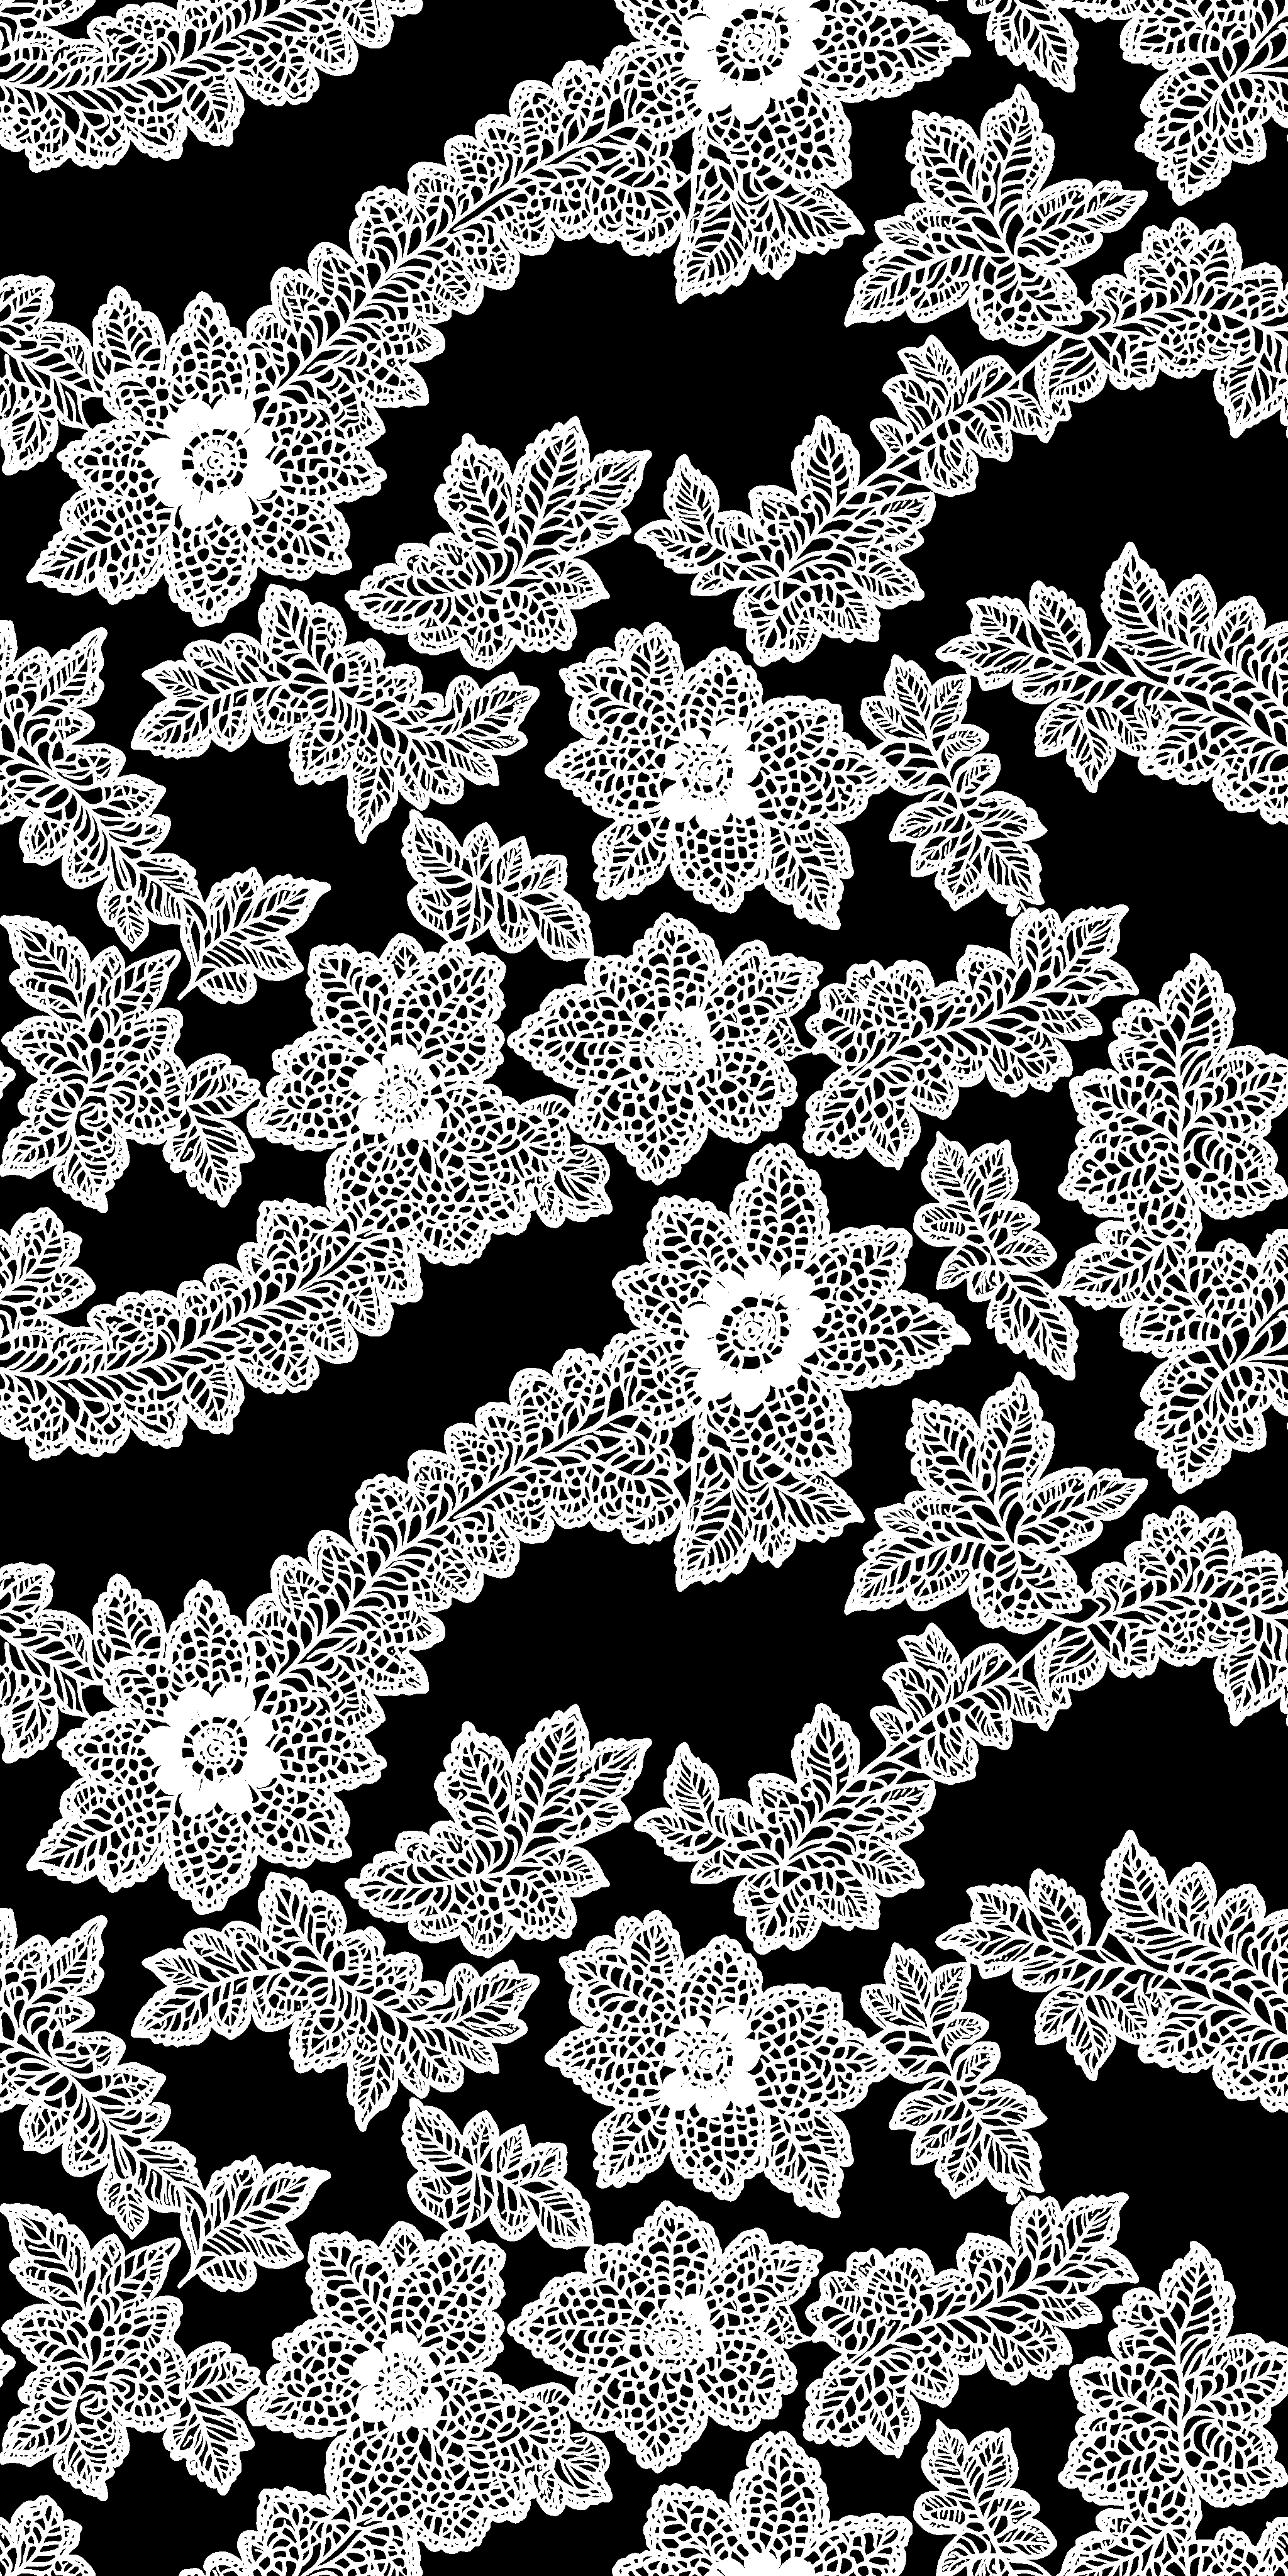
What goes in, what comes out
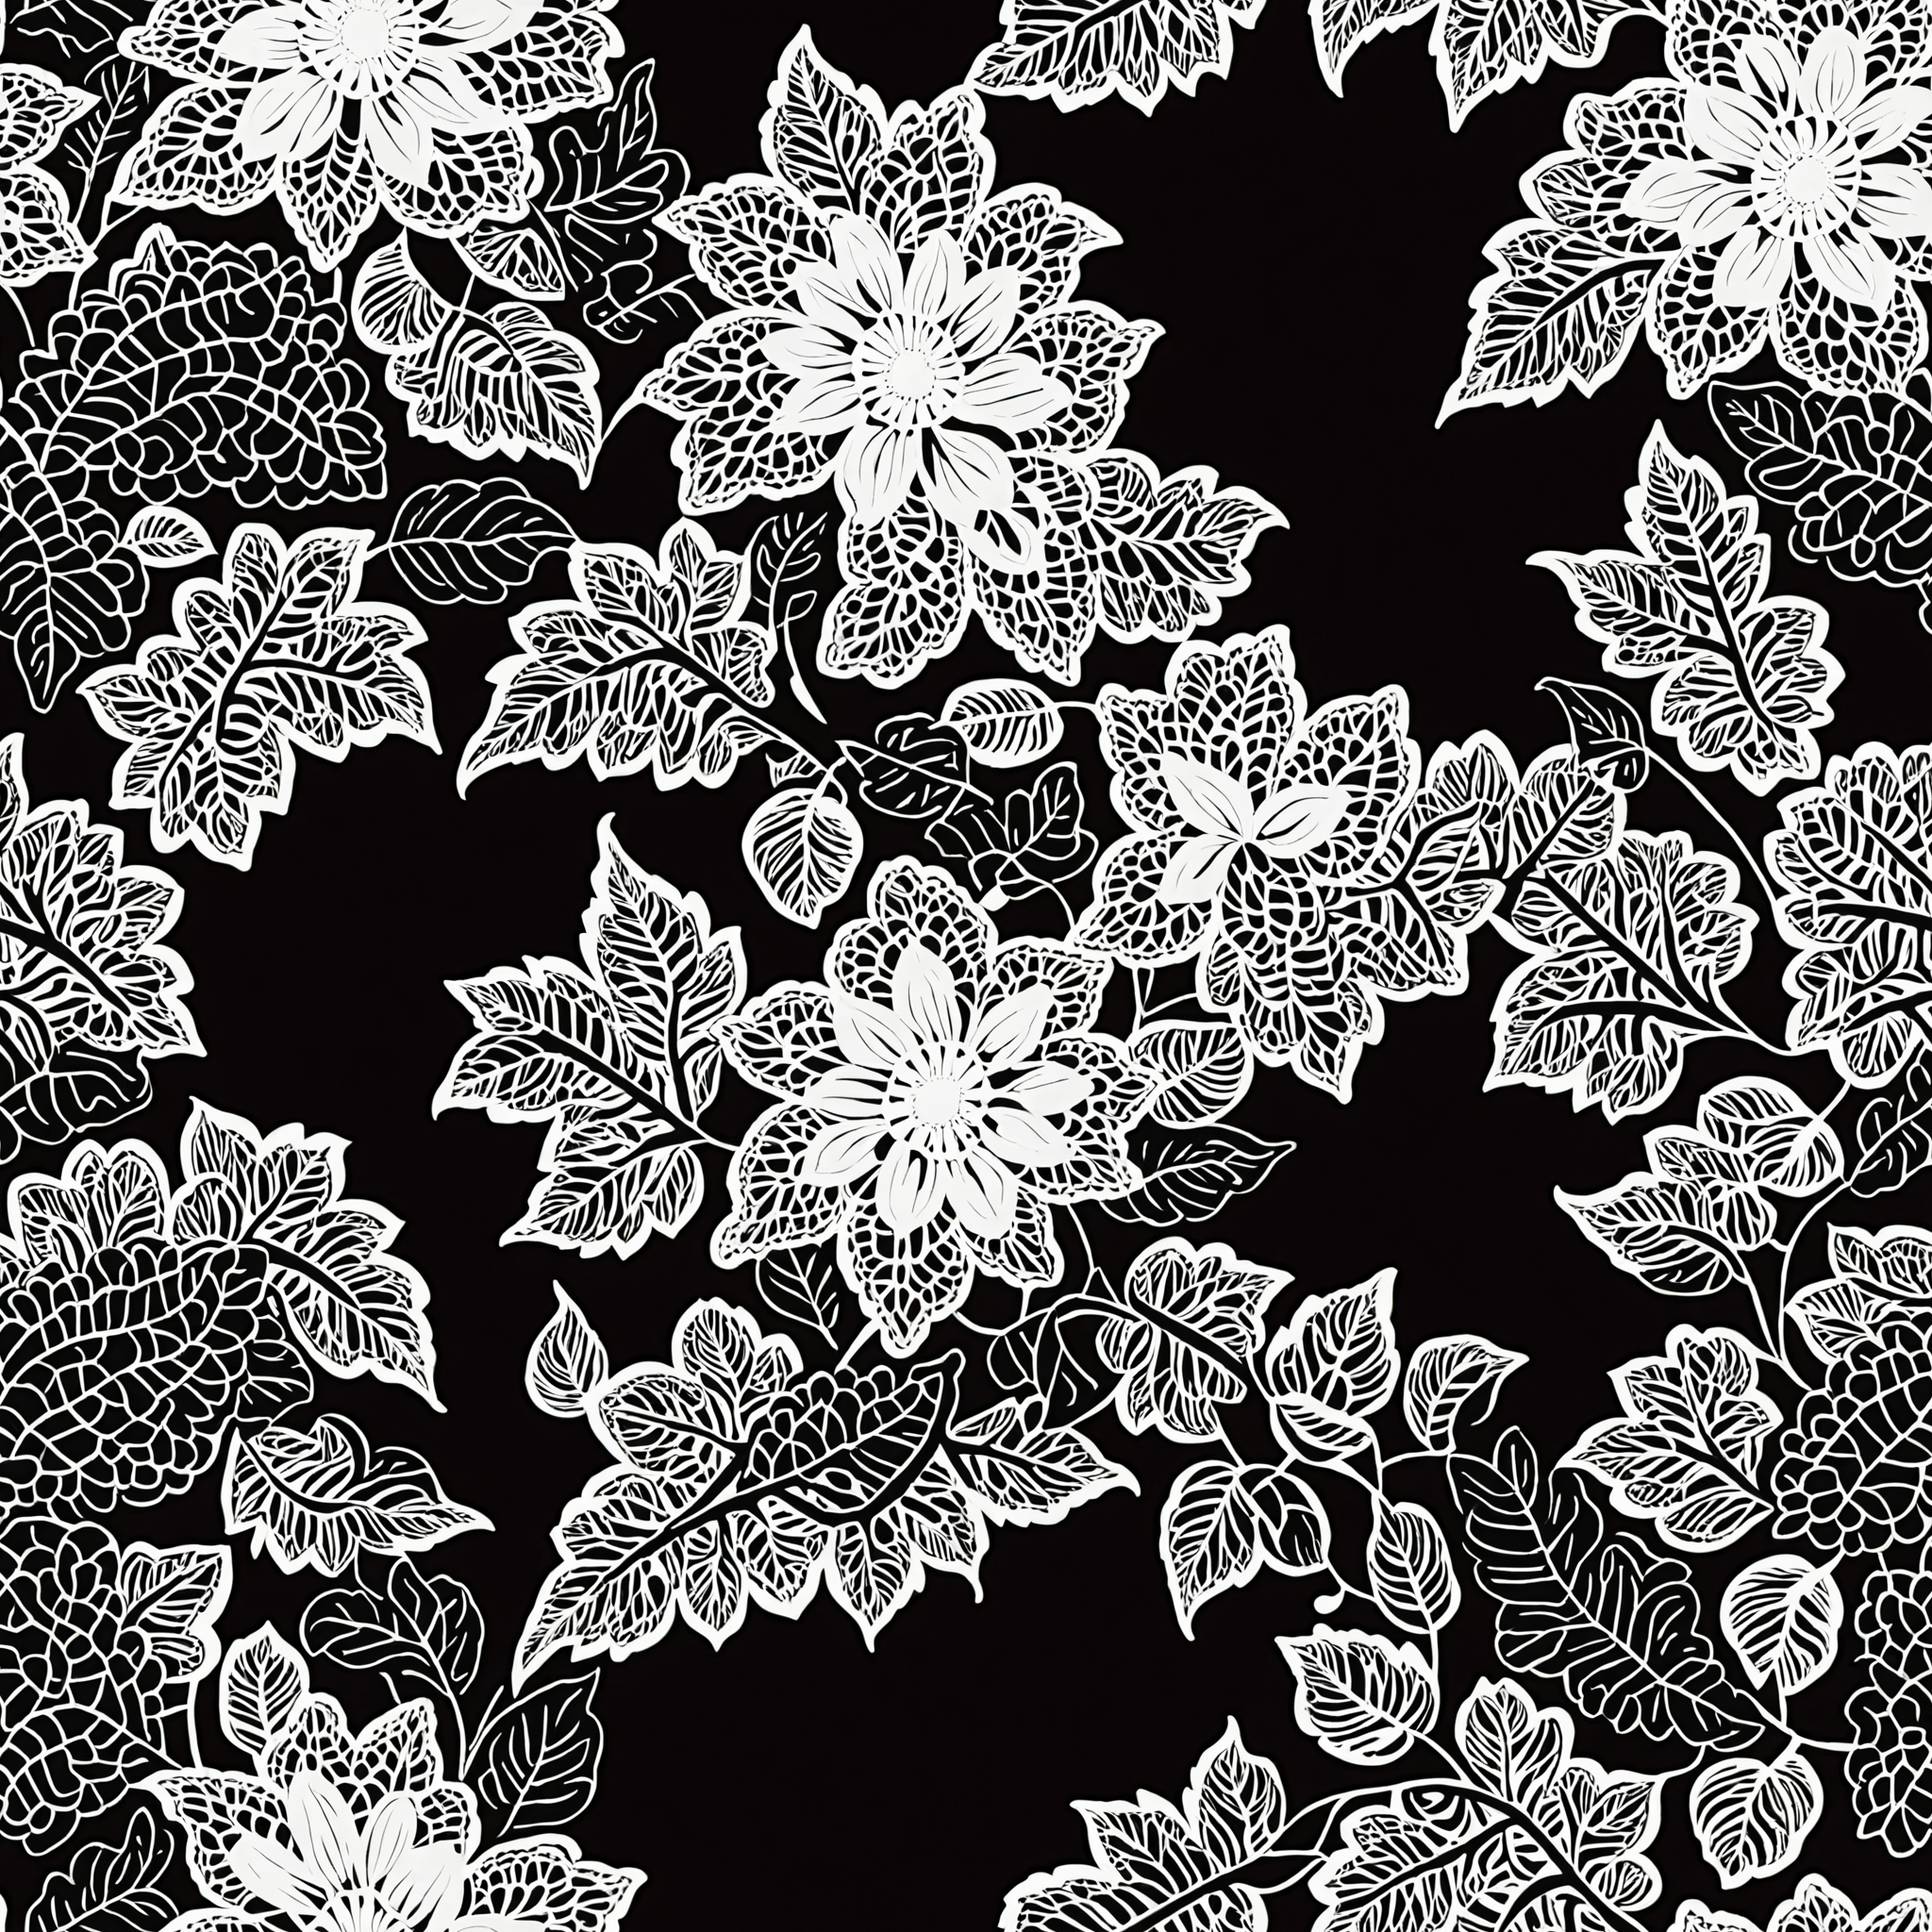
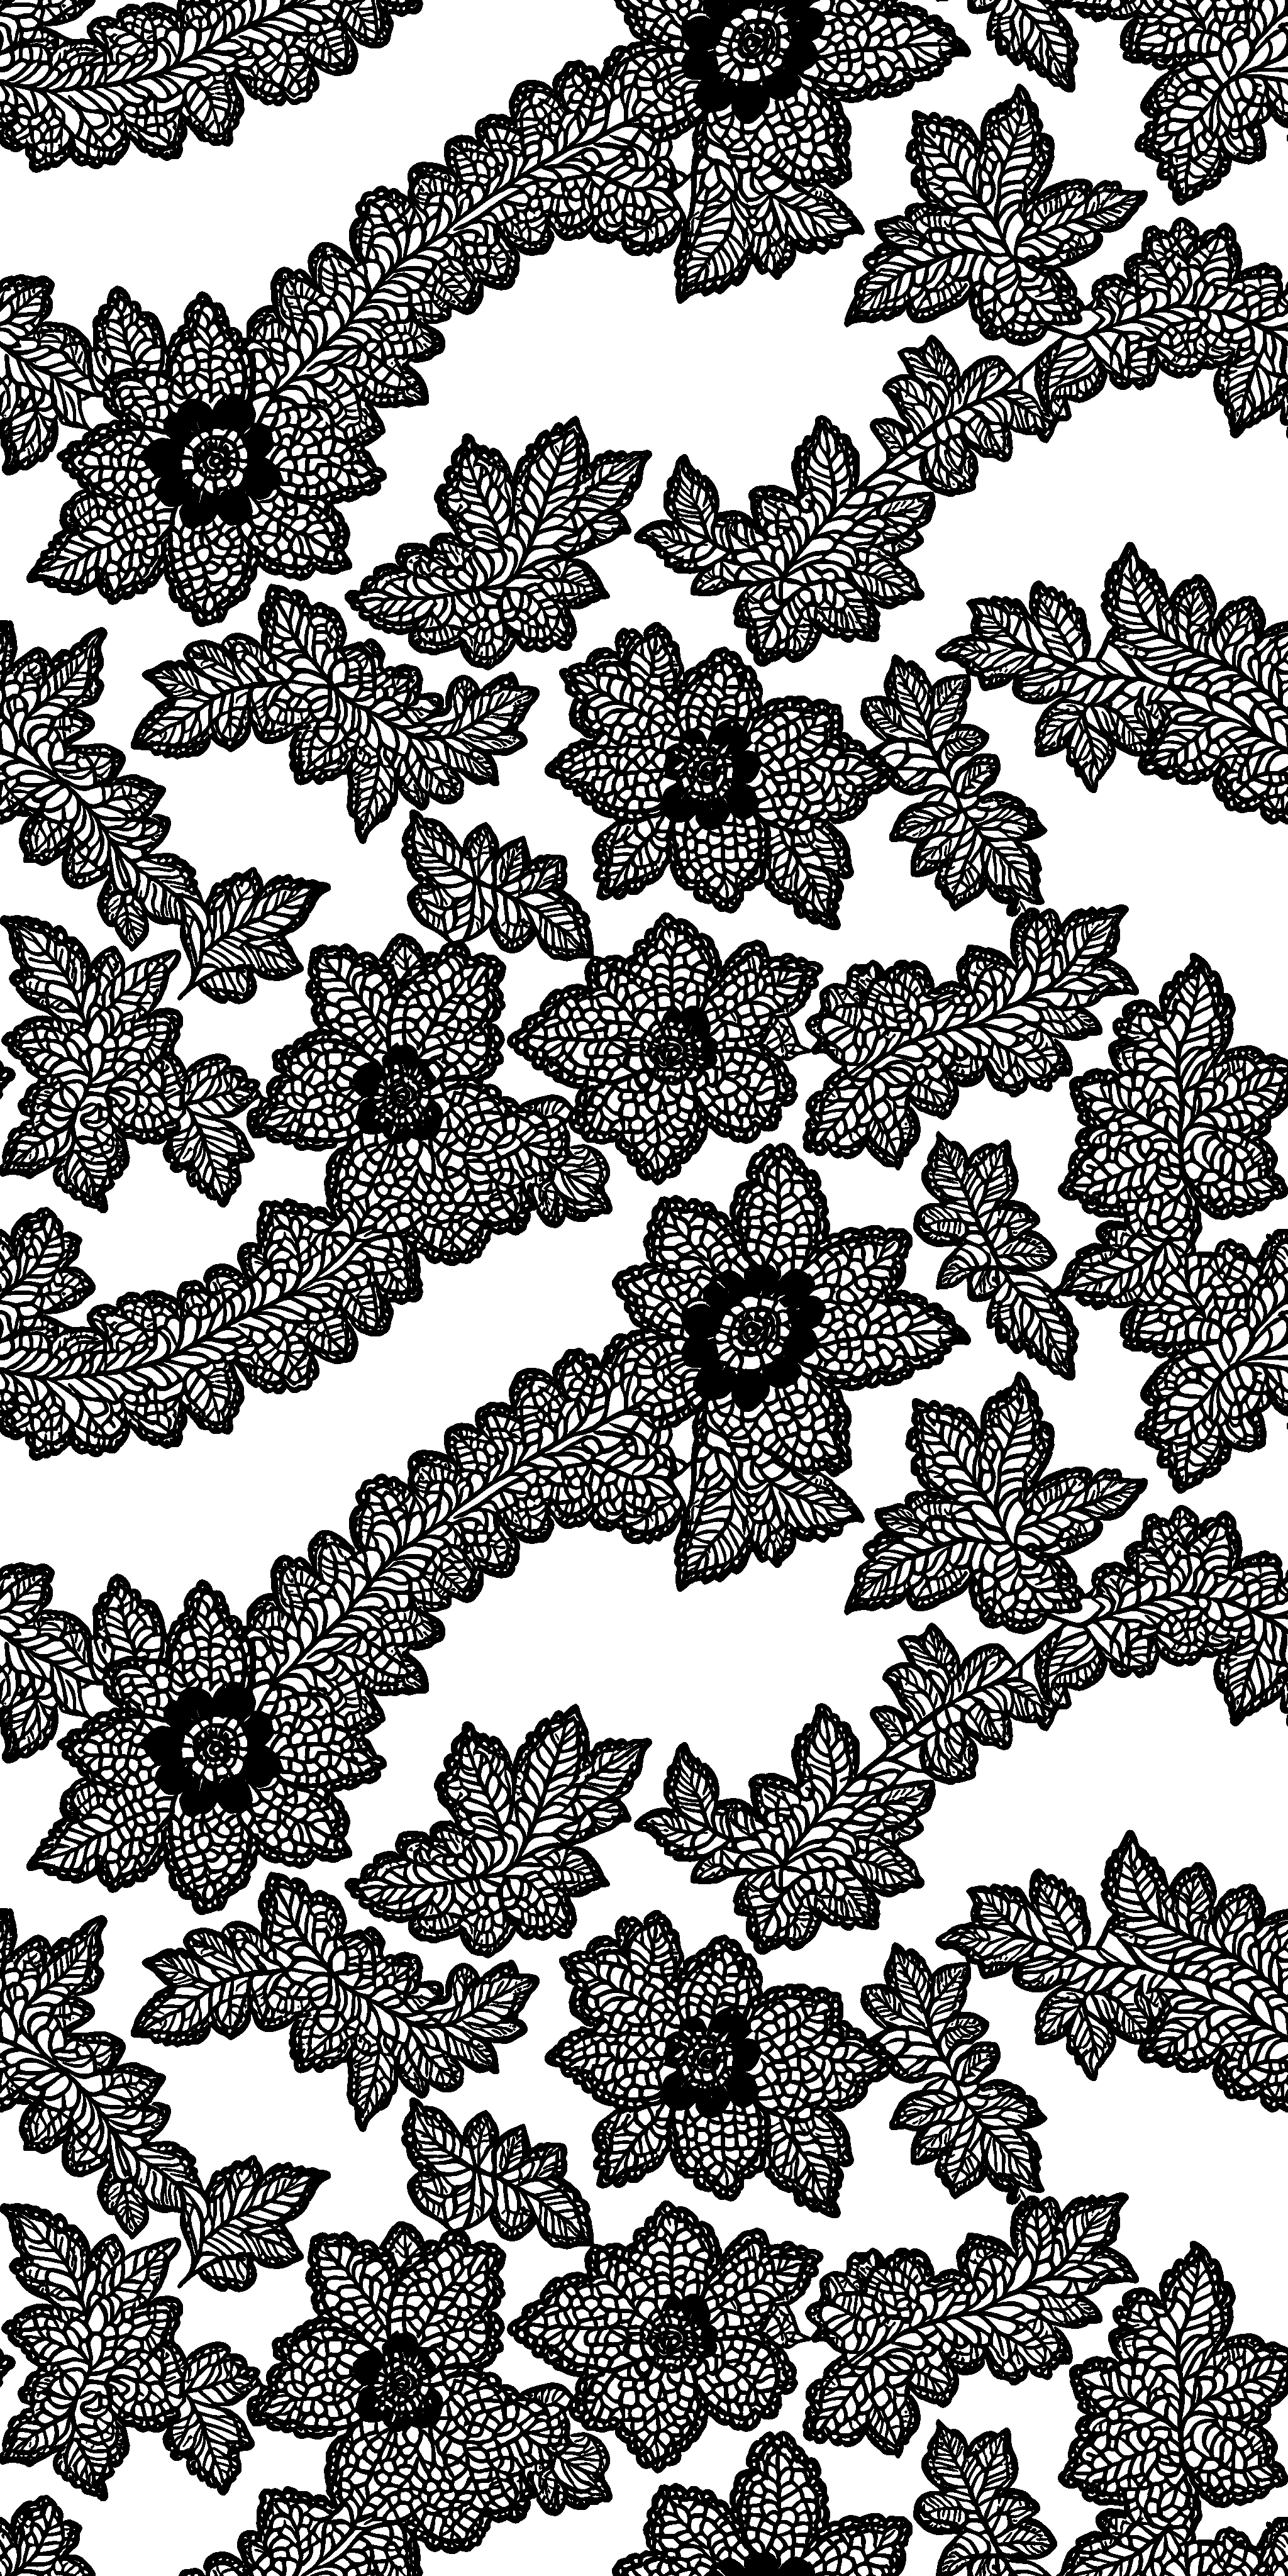
3 · InkscapePath → Trace Bitmap → save SVG
4 · SlicerSize, height, top and bottom solid layers 0 → slice
How the workflow works
Explained earlier:seamless tiles and the checkpoint (02) · seed and steps
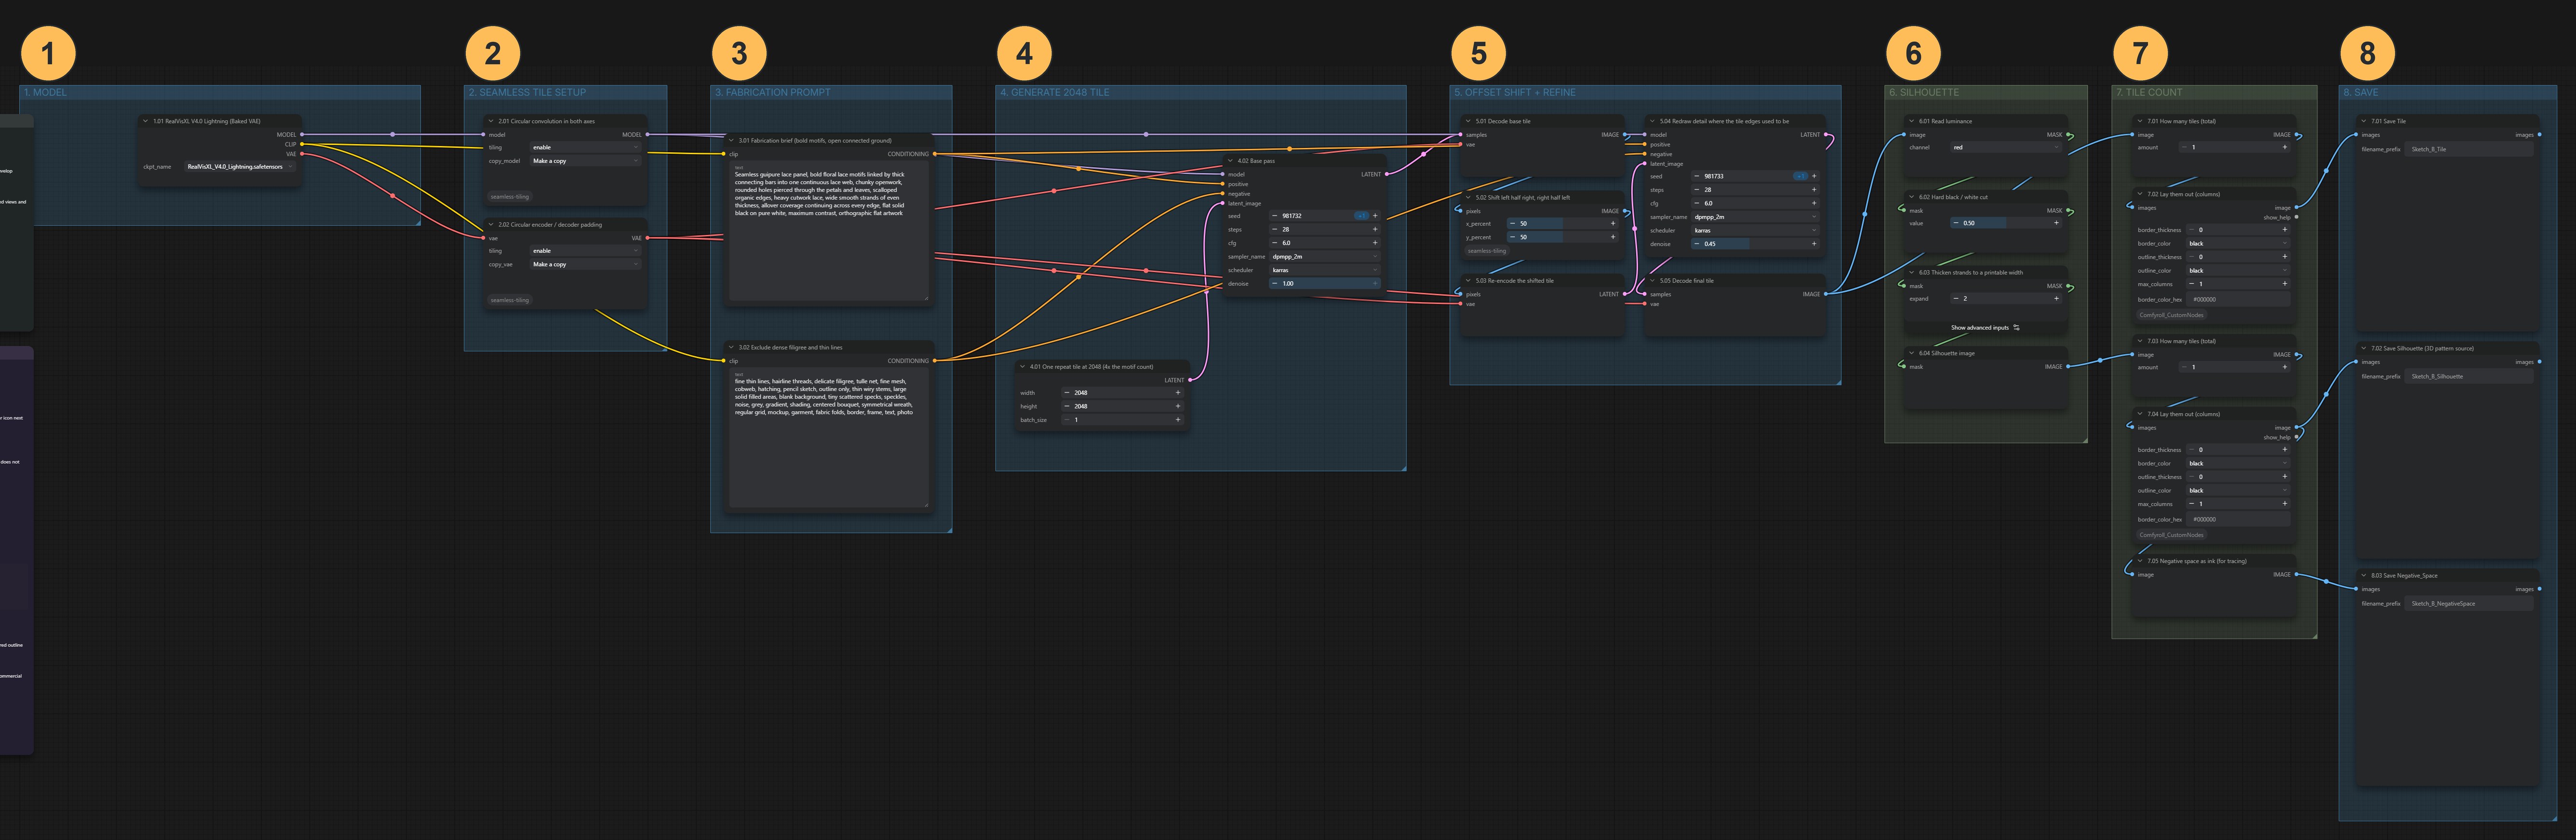
Design, in ComfyUI
Generate the openwork study
Describe bold motifs, a connected structure and clear openings. The workflow generates a seamless tile, then converts it to pure black and white and thickens the strands slightly. It saves three readings of the same pattern: the tile, a silhouette and its negative space.
This workflow uses stronger settings than 02 on purpose: 28 steps and CFG 6. In our tests, the low values that suit a printed textile gave soft, grey, photographic lace. The stronger values give the clean black and white that tracing needs.
Change: the brief or the seed. Inspect: whether every part is connected and whether the openings are large enough to print.
Vector tracing, in Inkscape
Trace your chosen PNG
Import the PNG and use Path → Trace Bitmap. This converts the pixel image into vector outlines that a slicer can read. Check that holes became holes, delete stray background shapes, and save as SVG, a common vector file format.
Fabrication, in the slicer
Prepare it in PrusaSlicer
Import the SVG and set the physical size and height. Set top solid layers to 0 and bottom solid layers to 0 so the openings stay open, then inspect the sliced preview.
Other settings, such as perimeters and infill, depend on your printer and material. Test them on a small sample.
Keep the production files together
Save the chosen PNG, the SVG and the slicer project (
.3mf) together in a project folder of your own, and note the settings you used.
Check the result
- Every part is connected, with no floating islands
- Holes are big enough to survive printing
- Thin bridges still appear in the sliced preview
- Print a small sample before committing to the full piece
If the lace breaks into separate pieces, ask for bolder, connected motifs and bigger openings in the brief, or change the seed.
The saved PNGs are design studies. They are not proof of a successful print.
Download the workflow
- B_Lace_Silhouette.jsonThe ComfyUI part of the process
Click a filename to download it, or right-click it and choose Save link as. Keep the .json ending. Then drag the file onto the ComfyUI canvas, or use Workflow → Open.