06 · New camera angles
Multi-View Generation
Start from one approved full-length image and generate two further camera angles of the same person and outfit: a right-side view and a rear three-quarter view.
- You’ll learn
- How one source image feeds two generation branches in a single run, which parts of the instruction stay identical to keep the look continuous, and what a generated view can and cannot tell you.
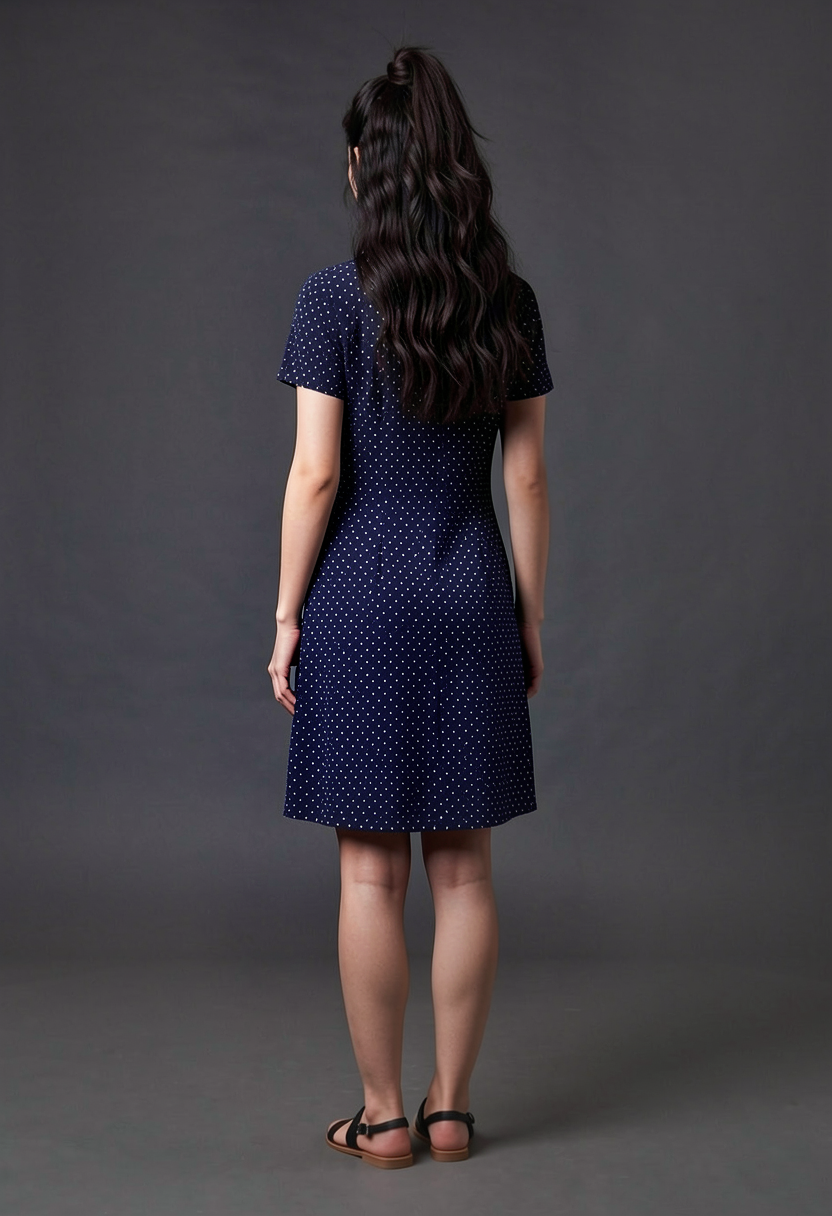
What goes in, what comes out
The source image (also called the anchor) is the one picture you have already approved: a full-length view of the dressed person. It is the only visual evidence the model gets, and both new views are derived from it.
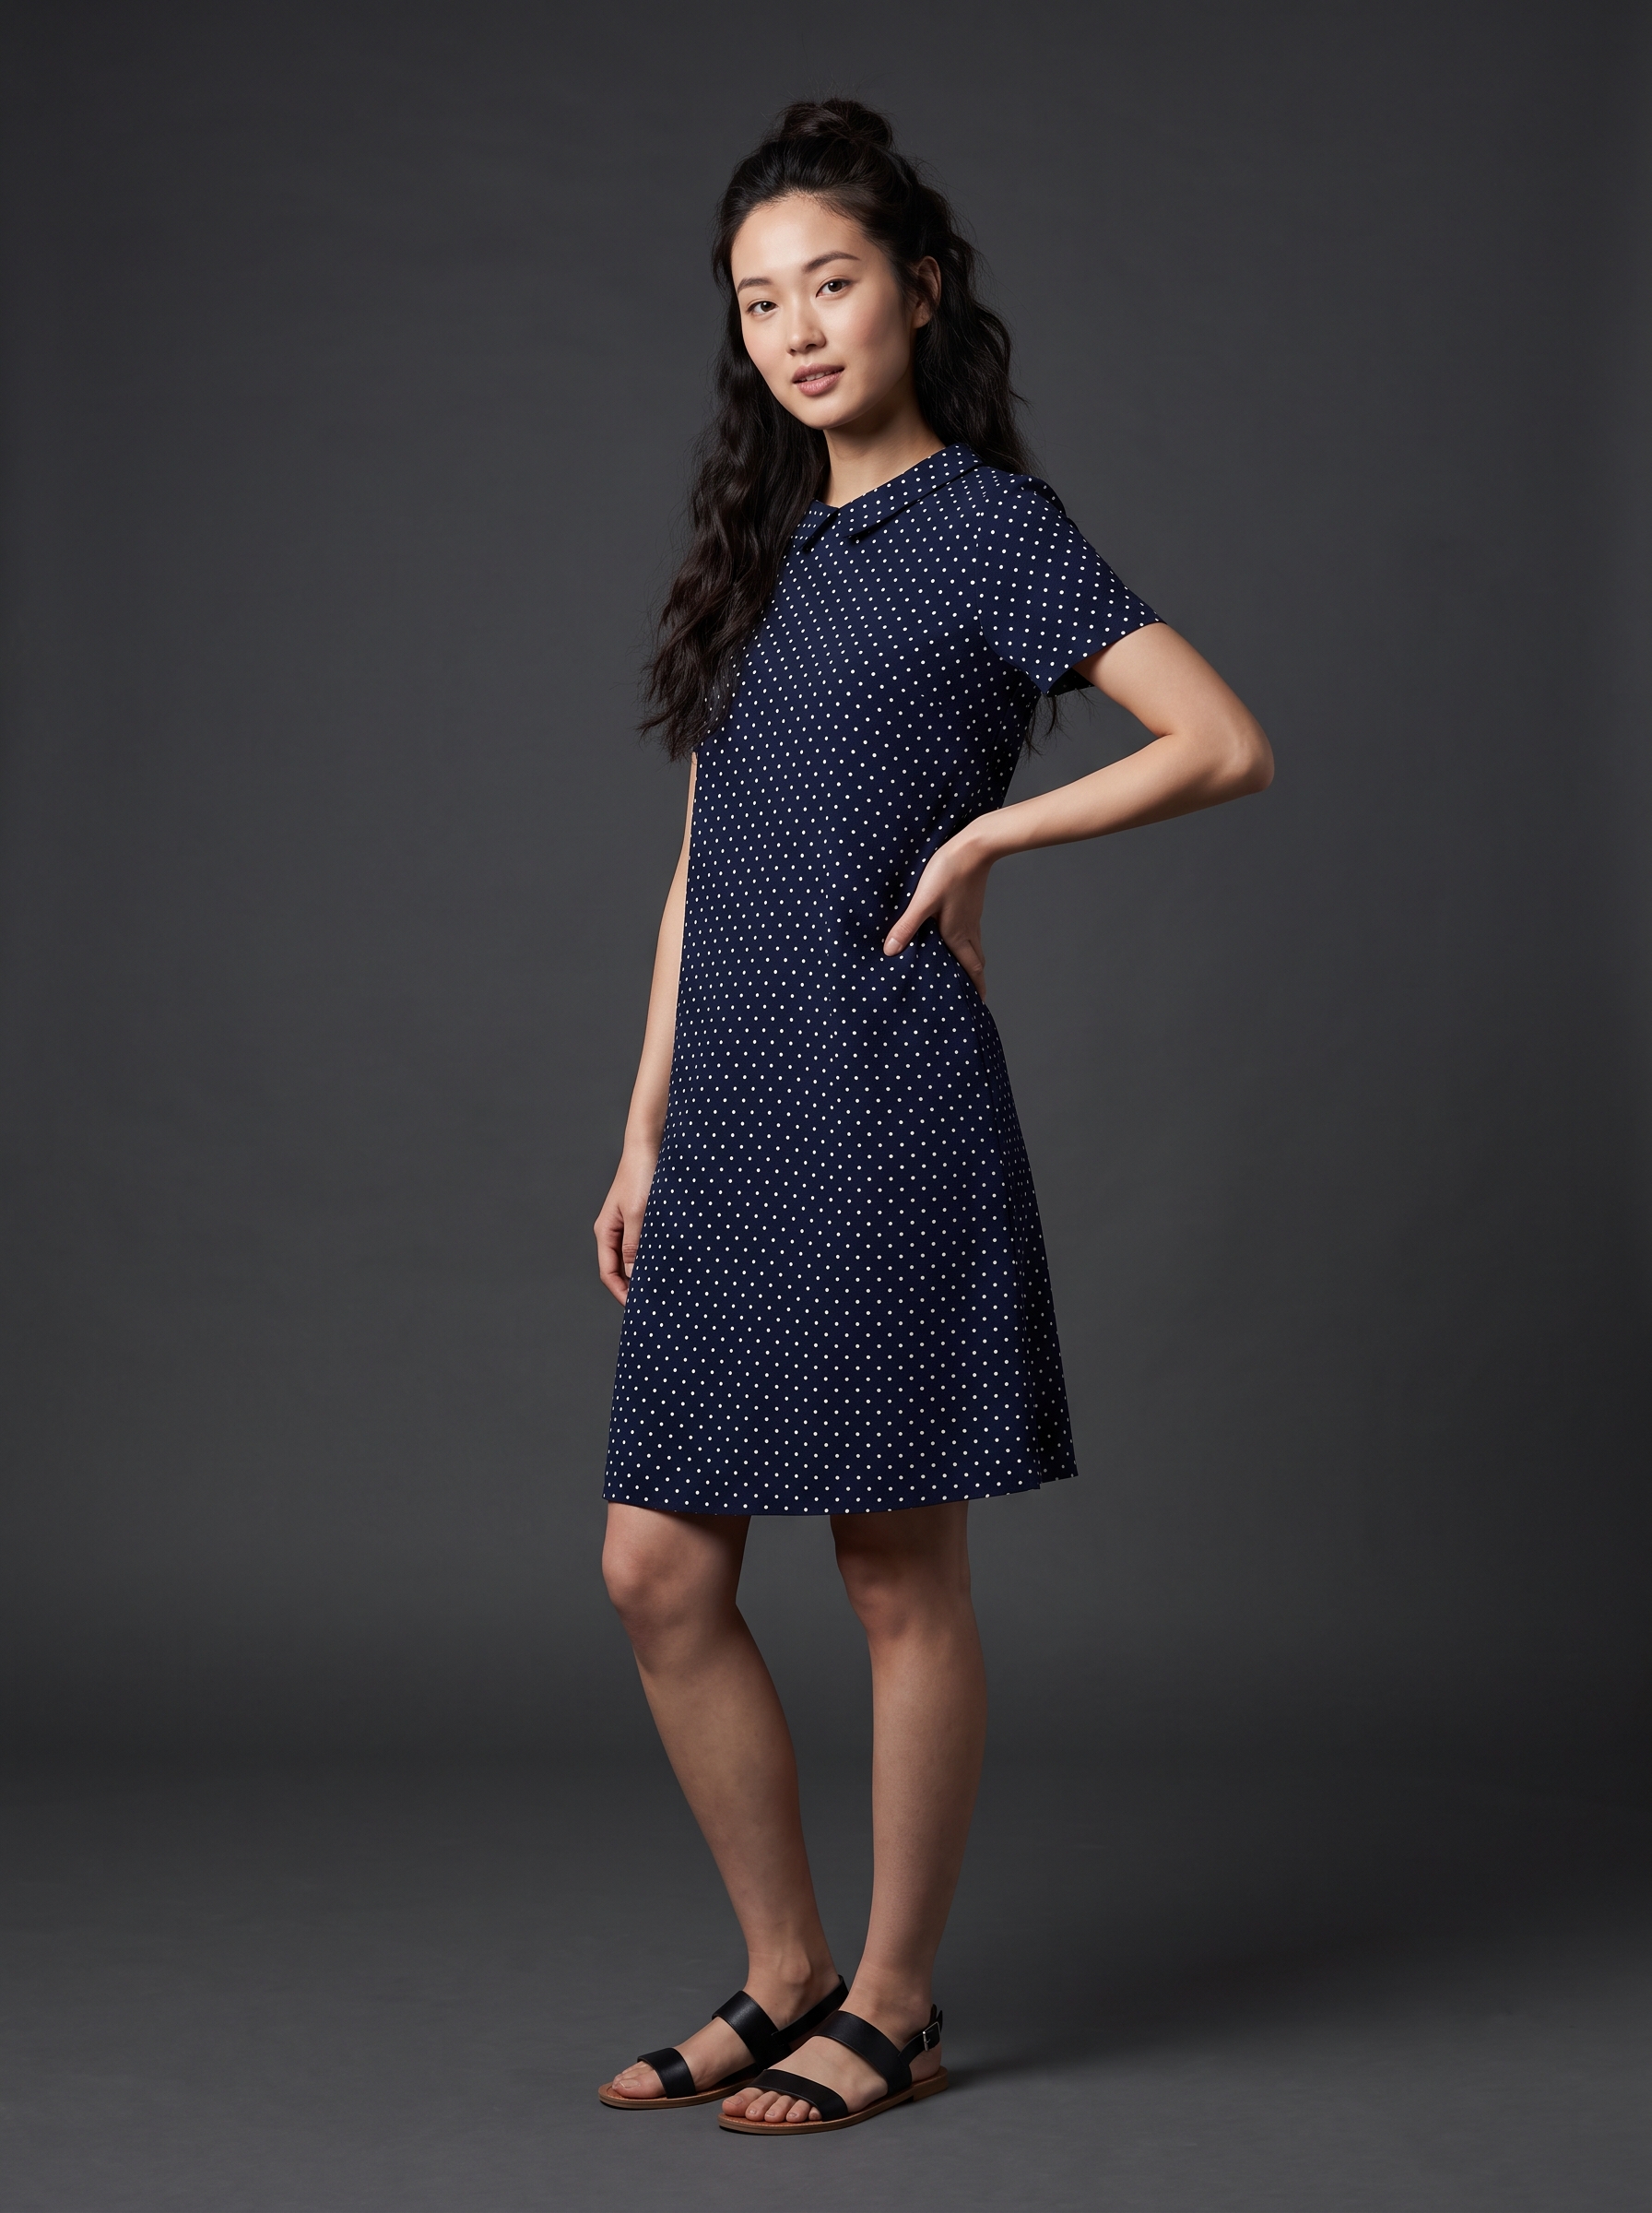
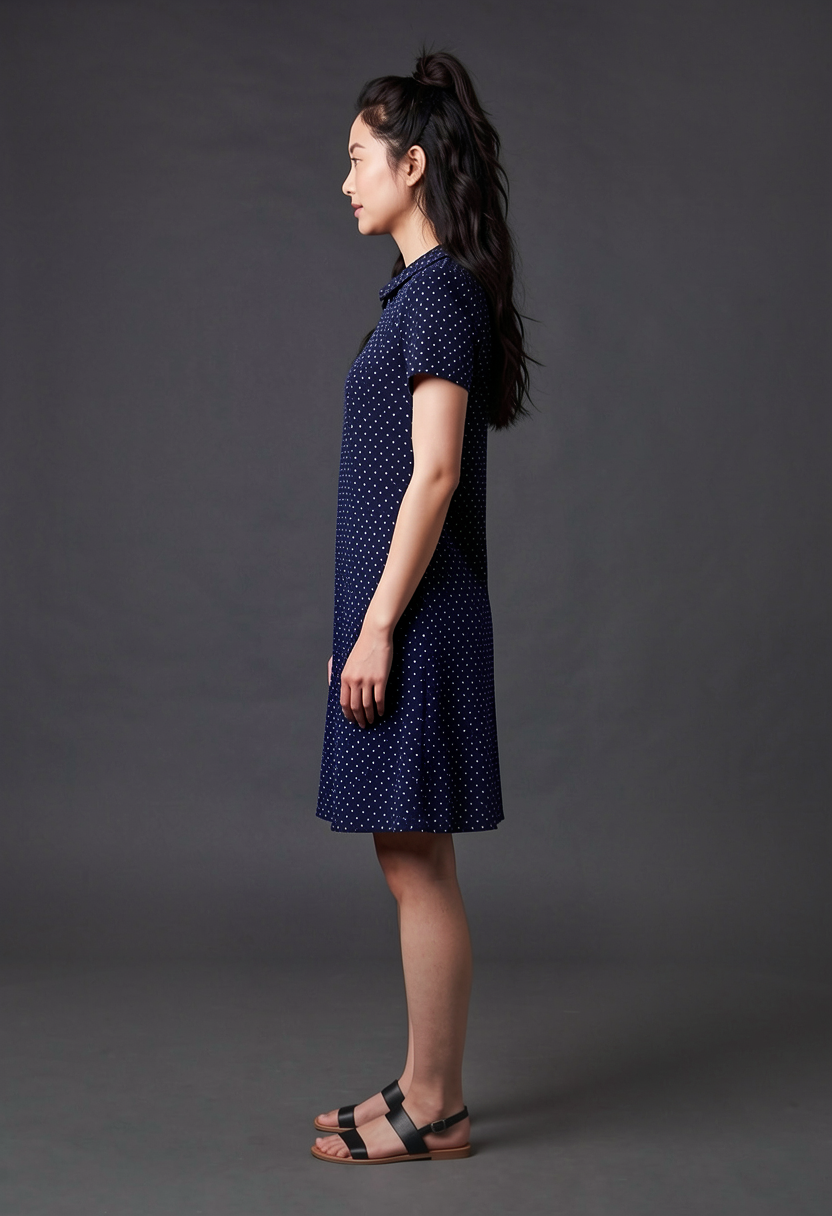
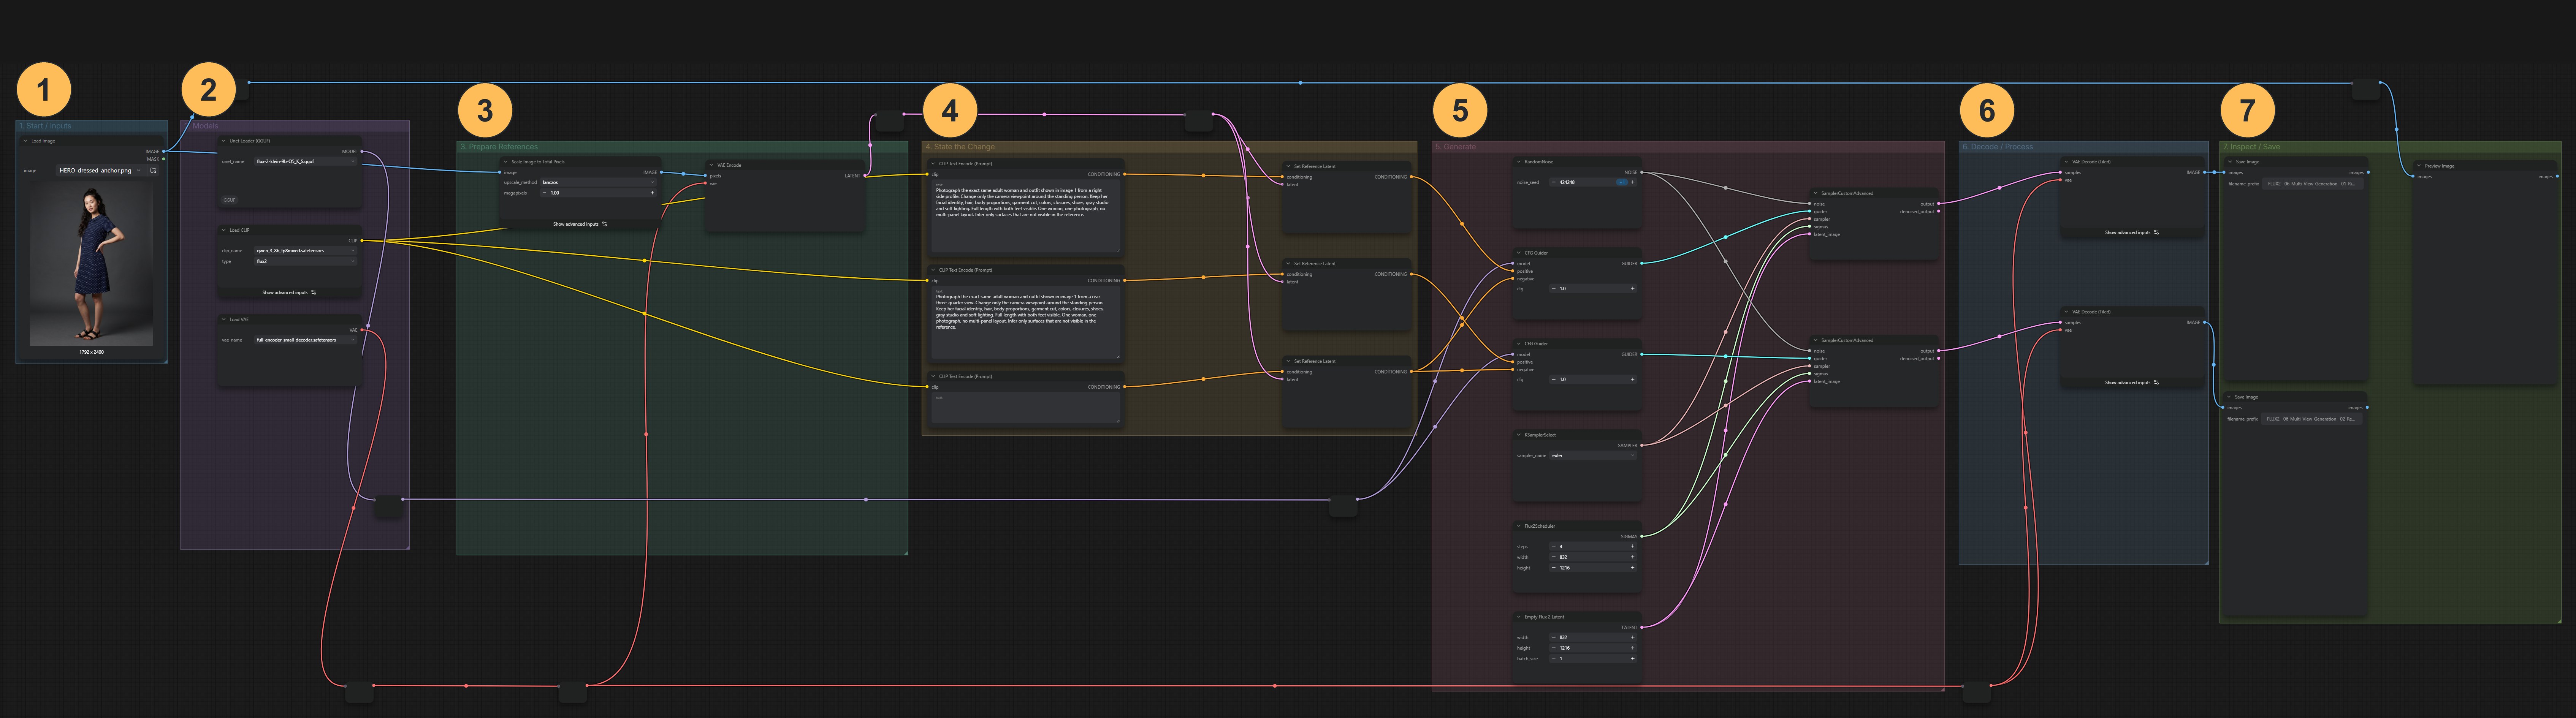
How the workflow works
Explained earlier:seed, guidance and steps · reference images and preparation size (03) · decode and save
Choose a clear source image
Use a full-length image with clear garment edges, visible feet and readable construction, on a plain background. A result from 05 works well. LoadImage selects it, and ImageScaleToTotalPixels prepares it at 1 megapixel without changing its proportions.
Follow the two branches
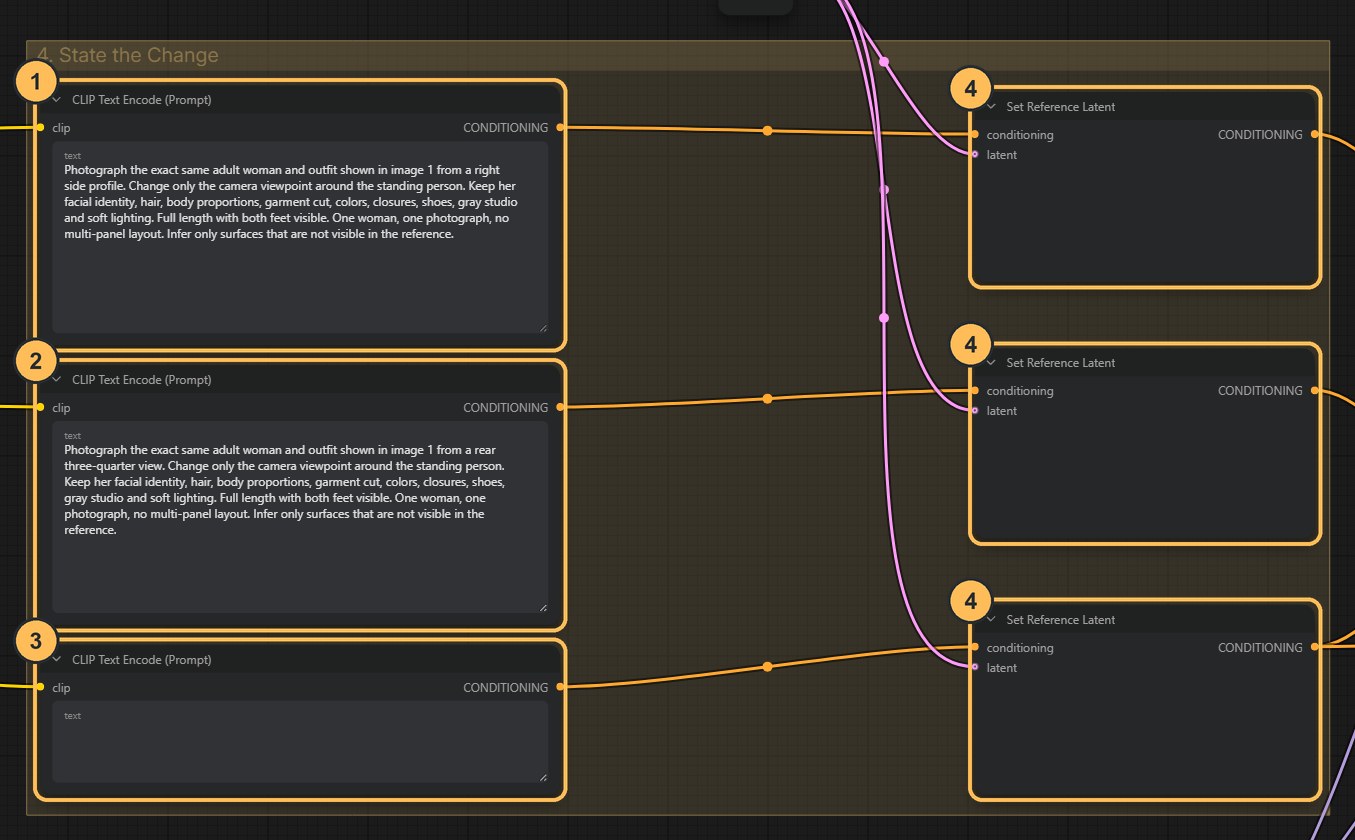
The models and the encoded source image are shared. From there the workflow splits into two branches. Each branch has its own prompt and its own generating nodes: one asks for a right-side profile, the other for a rear three-quarter view. One press of Run generates both.
What keeps the two views continuous
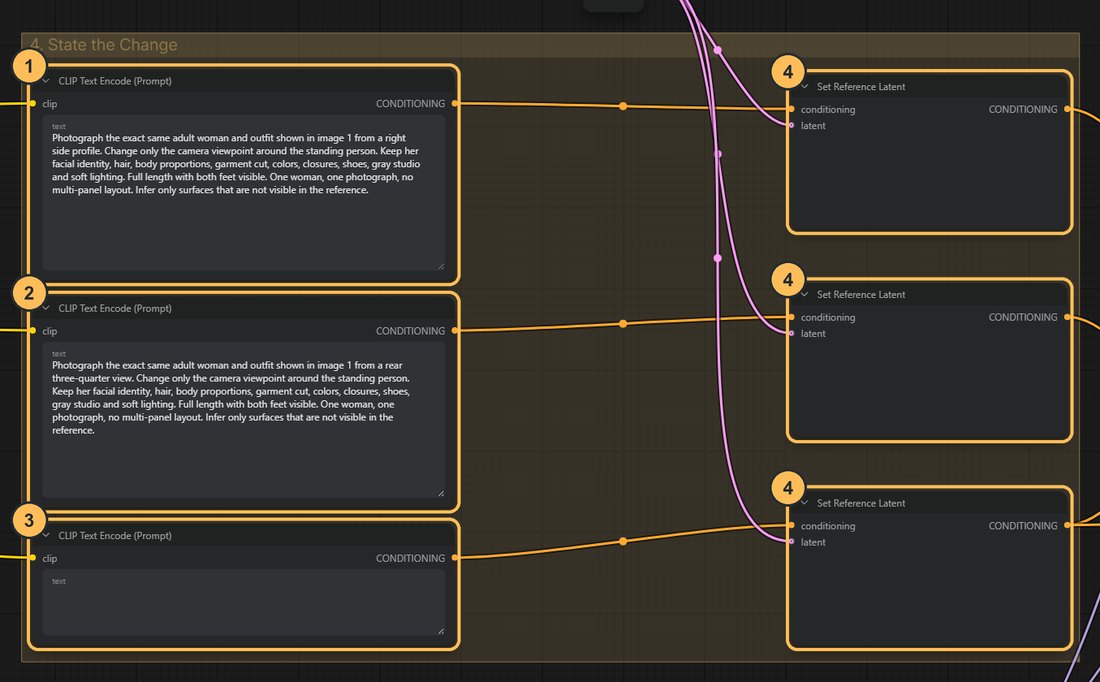
- Side view promptAsks for a right-side profile.
- Rear view promptSame wording, but asks for a rear three-quarter view.
- Negative promptEmpty, and ignored while the CFG setting is 1.
- Reference latentAttaches the same source image to every prompt.
Continuity comes from two shared things, and from one deliberate difference:
- Shared reference: both branches receive the same source image
- Shared instructions: both prompts use identical wording for what to keep: facial identity, hair, body proportions, garment cut, colours, closures, shoes, studio and lighting
- Different view wording: only the phrase that names the camera position changes
If you edit the prompts, edit the shared wording in both, word for word. Change: one camera phrase, for example rear three-quarter to full back. Keep fixed: the source image, the shared wording and the seed. Inspect: whether the outfit is still the same garment.
Run once, save both
Two Save Image nodes write the two views as individual files, with
01_Right_Sideand02_Rear_Quarterin their names. The image size is 832 × 1216. The workflow uses the recommended 4 steps and CFG 1.
Check the result
- Landmarks line up between views: hem against knee, sleeve end against elbow
- The side view turns the whole body (shoulders, hips, feet), not only the head
- Closures, colours and print are the same in both views
- It still looks like the same person
These are proposals, not rotationsThe source image shows only the front. The side and back surfaces are inferred by the model. The views are generated proposals: they are not measured camera rotations, not a 3D scan, and not a record of how the garment is constructed. Sort what you see into three groups. Supported details continue what the front shows. Plausible ones are new design options for you to accept or reject. Contradictory ones should be discarded.
Download the workflow
- A_Multi_View_Generation.jsonOne source image, two view branches
- HERO_dressed_anchor.pngThe example source image. Put it in ComfyUI’s input folder, or load your own
Click a filename to download it, or right-click it and choose Save link as. Keep the .json ending. Then drag the file onto the ComfyUI canvas, or use Workflow → Open.