ComfyUI for fashion design and exploration
Fashion workflows you can control
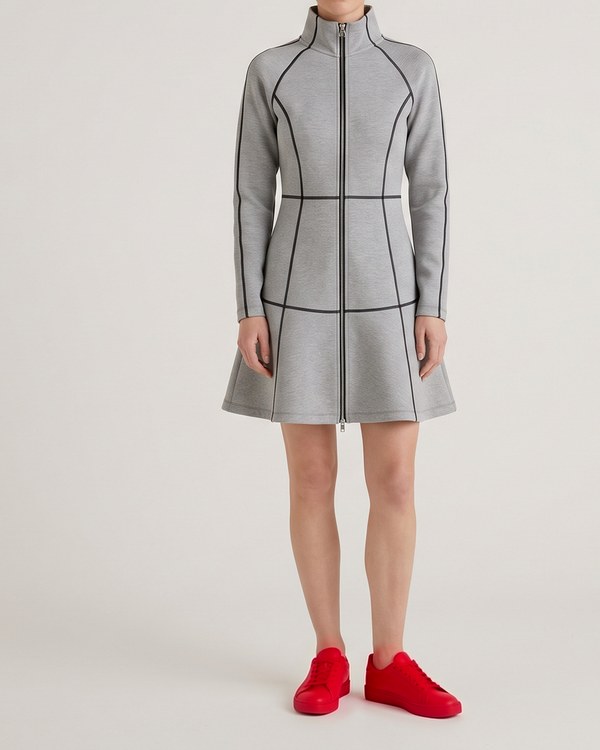
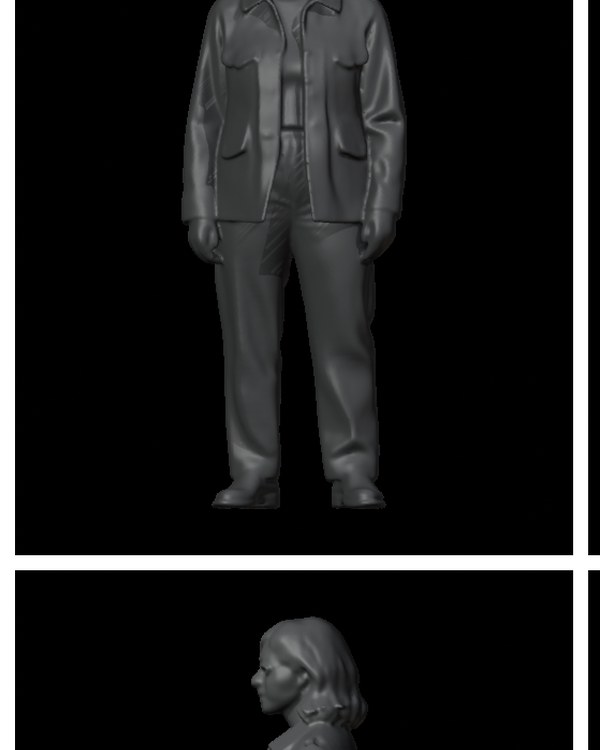
A collection of ComfyUI workflows for anyone who works with fashion or is curious about it: designers, professionals, learners and enthusiasts. They cover garment shape, textiles, sketching, try-on, poses, product views, editorial images, targeted edits and 3D studies.
Each page explains one real workflow, shows real results, and gives you the file to download and run yourself.
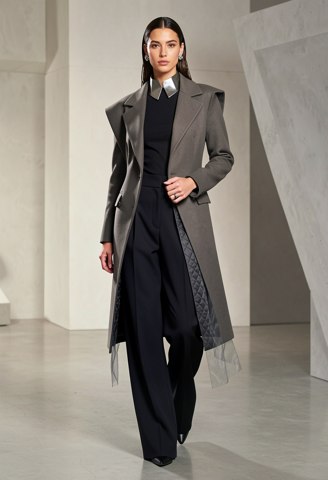



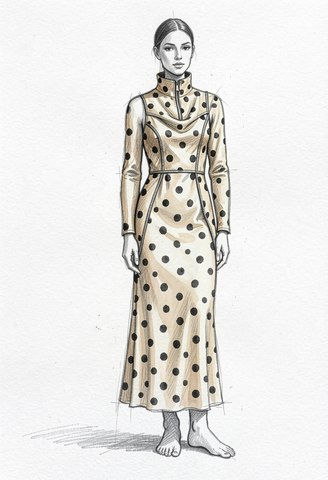

All workflows
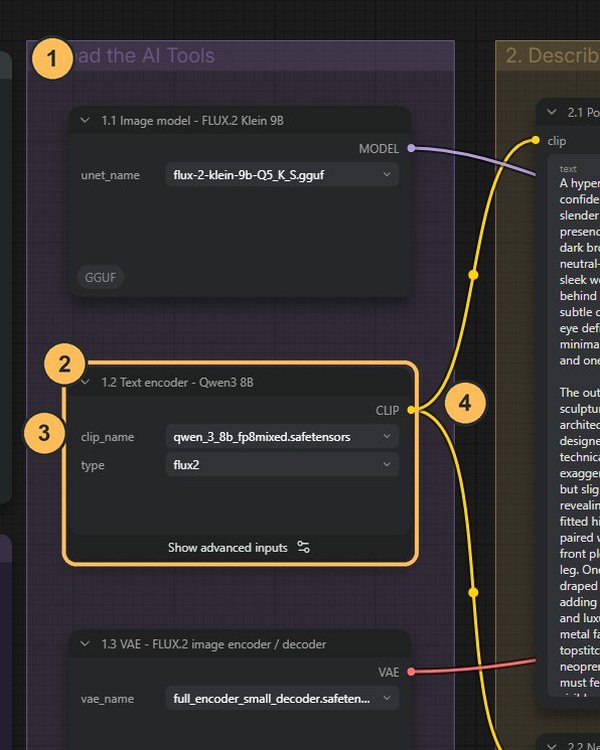
Begin with Getting Started and 01A. They explain the tools that every later workflow shares. After that, follow the order or go straight to the result you need.
Foundations
Learn the canvas, make a first image, then try the cloud and a style add-on.

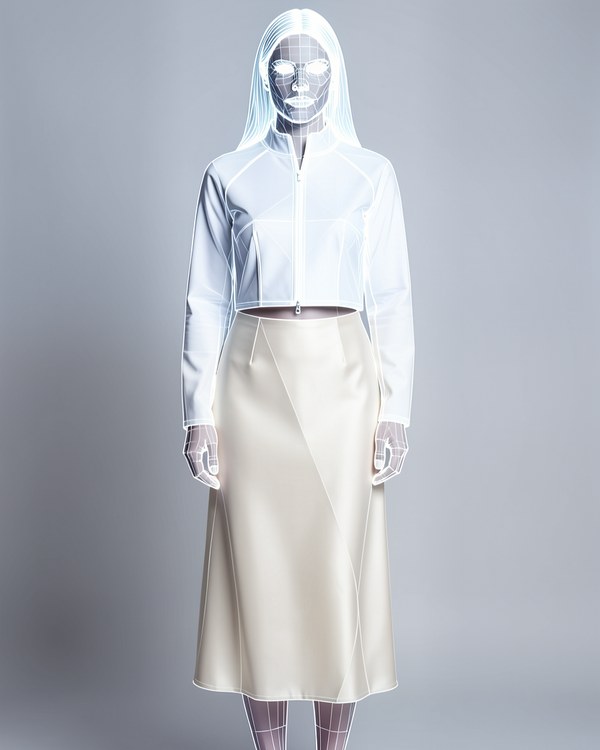
Print, lace and sketch
Surface design and early design development.


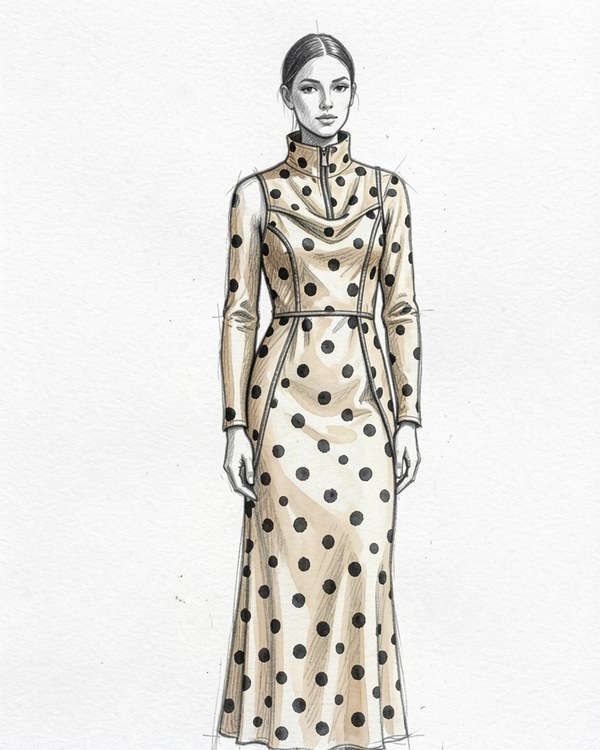
People, outfits and poses
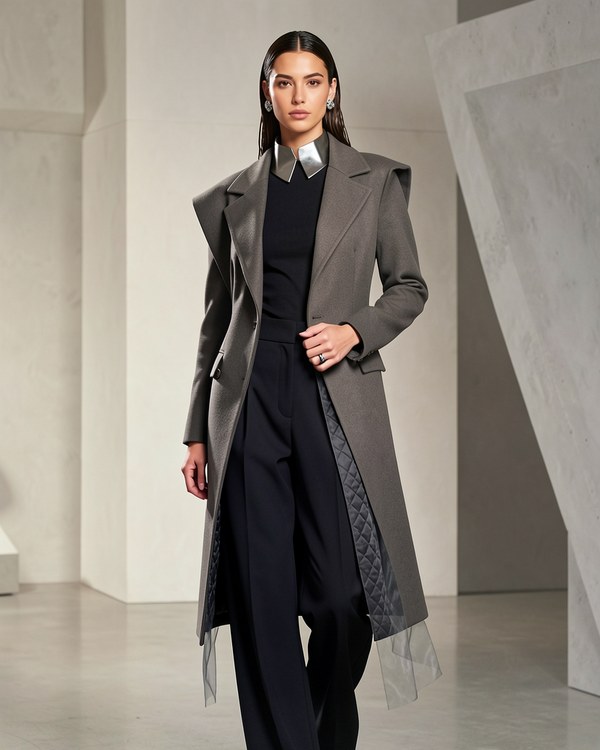
Put a garment on a person, direct the pose, and change the camera.


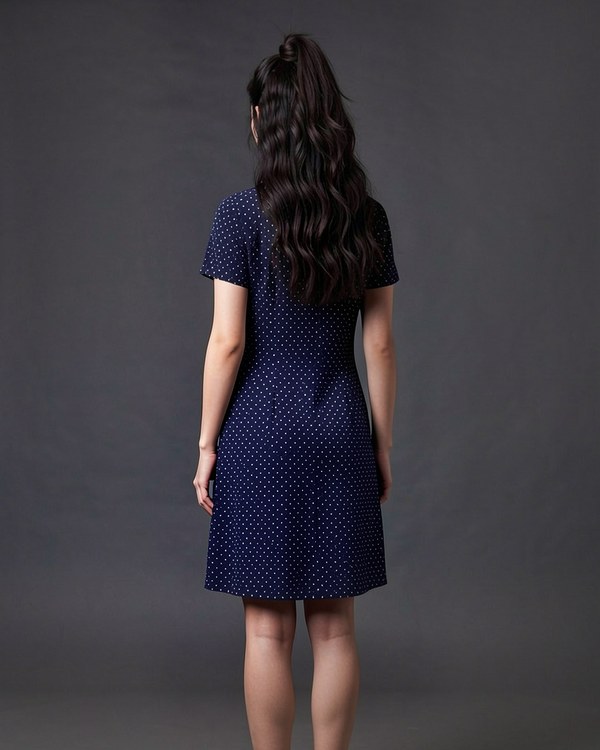
Presentation, edits and 3D
Catalogue views, a consistent series, targeted fixes and volume.

Why learn ComfyUI?
- Experiment without paying per image
- ComfyUI is free and open source. When you run downloaded models on your own computer, no generation credits are used, so you can keep trying ideas. You still need a suitable computer, storage for the model files, and time. Model licences vary.
- Control every decision
- You choose the model, the written brief, the reference images, the image size and every other setting. For example, you can give three separate reference images three separate jobs (one for the person’s identity, one for the clothing, one for the pose), or paint over one area of an image (this painted selection is called a mask) so that only that area changes.
- Compare fairly
- Hold everything steady and change one thing: the number of steps, a style strength, a single word. The difference between two results then tells you something.
- Keep going after the first image
- A result is not the end of the process. An image you have approved can become the reference for the next stage: another camera view, a new scene, a masked edit, or a 3D study. The whole chain is saved as one small file that you can reopen and reuse.
- Use local and cloud together
- Run downloaded models on your own machine, or send the job to a paid online service such as OpenAI or Google. ComfyUI does this through built-in nodes called Partner Nodes. Both can sit on the same canvas.
Image chat or ComfyUI?
ChatGPT and Gemini are great for
- Quick ideas and moodboards
- Changing things by conversation
- Zero setup
ComfyUI is better when you want to
- See and adjust every step
- Hold settings fixed and compare
- Combine several references with clear roles
- Change one painted area, or set a pose
- Reuse the same process next week
The trade-off is setup: local ComfyUI needs an installation and model files. The two also work well together. Develop a brief in chat, then produce and compare it in ComfyUI.
Freedom and control
ComfyUI running on your own computer gives you a great deal of freedom. You decide the subject, the references and every setting, and local models do not apply the content rules that online services do. In practice this means fewer interruptions and full control over your process. It also means the judgement is yours: no system checks whether a reference image is yours to use, or whether a result could mislead someone.
- Ask before using a real person’s face or body
- Describe the person you intend, because models carry bias
- Check each model’s licence. FLUX.2 Klein 9B is non-commercial
- Say when an image is AI-generated
Start with the hardware you have
The local workflows were tested on a Windows desktop with an NVIDIA RTX 3060 graphics card with 8 GB of graphics memory (also called VRAM), using smaller versions of the AI models and image sizes such as 640 × 960 and 832 × 1216. Other NVIDIA RTX cards with 8 GB or more should behave similarly, but what fits always depends on the model, the image size and the workflow. The 3D workflows have their own requirements. Graphics memory is separate from your computer’s main memory (RAM).
ComfyUI also supports Apple Silicon Macs. These particular workflows have not been tested on a Mac, so expect to check each one. If you have no suitable graphics card, the cloud workflows need only a Comfy account and credits. Setup options are in Getting Started.